

OK, so mothers day is on sunday so I thought I’d make a super quick and easy tutorial that anyone could totally do! So if you’ve forgotten about mothers day and you just need a quick idea this is perfect for you !
So let’s start!
You will need :

magnets !( if you wanna make magnets!)

SOME CLAY! the colors that you prefer 🙂
First you have to warm-up your clay!
So make a ball !

Than you have to form a cylinder shape ! Kind of like this :

After that try to make one end slightly more narrow. So it looks more like a cupcake base:

Than take a tooth pick to make small indents int the base, to make it look like a cupcake wrapper:


Make the indents all the way around! Try to leave the same space in-between them !

Now onto the cake bit of the cupcake : Roll and form :

Since it need to fit the base, eye-measure if the size of your clay seems ok :

Than flatten out the ends to make a hill-shape :

Size check again just to me sure !!

You can see that the „hill“ doesn’t line up with the base, but thats ok , because in the next step, you will take a bit of rolled up aluminium-foil, and structure the hill :

It should look something like this. If you want more structure you could use your tooth pick to add more. just make sure you use the other side or a new one, sometimes the color rubs off.

Than pick it up. Mine got stuck to the glass I work on, so I used a knive, But if you’re to young you can use a piece of paper, or asked an older person
(not your mother though)

As you can see it now fits perfectly ! 🙂

I used the tooth pick again to structure the bottom/edge more, as I didn’t reach it with my alu-foil.


Now onto the frosting !!!

Make a roll !

Then make a snail-house on top of your hill _


I noticed that my roll was to thin, so I made it again but bigger. But do what you prefer.

Nearly finished ! Just add a cherry on top ! (Maybe) If you want to make your piece into a charm add an eye pin now !

Now you have to bake it for 30 minutes with 110°C ! You can notice in my pictures that there is quite a bit of dirt, I will show you how to get rid of that after baking ! While it’s baking please finish reading this! It is important that you don’t let your clay piece cool down completely after baking.
After baking your creation should look the same :D. If you want to make magnets follow my lead 😀

Take your clay out of the oven, but be careful it will be hot!
After a few seconds it will cool down and you can take it in your hand to cut it ! It should still be warm if you cut it ! That way it’s easier ! If you’re not old enough to use knifes , you can ask an older person. Again don’t asked your mom 😀 .

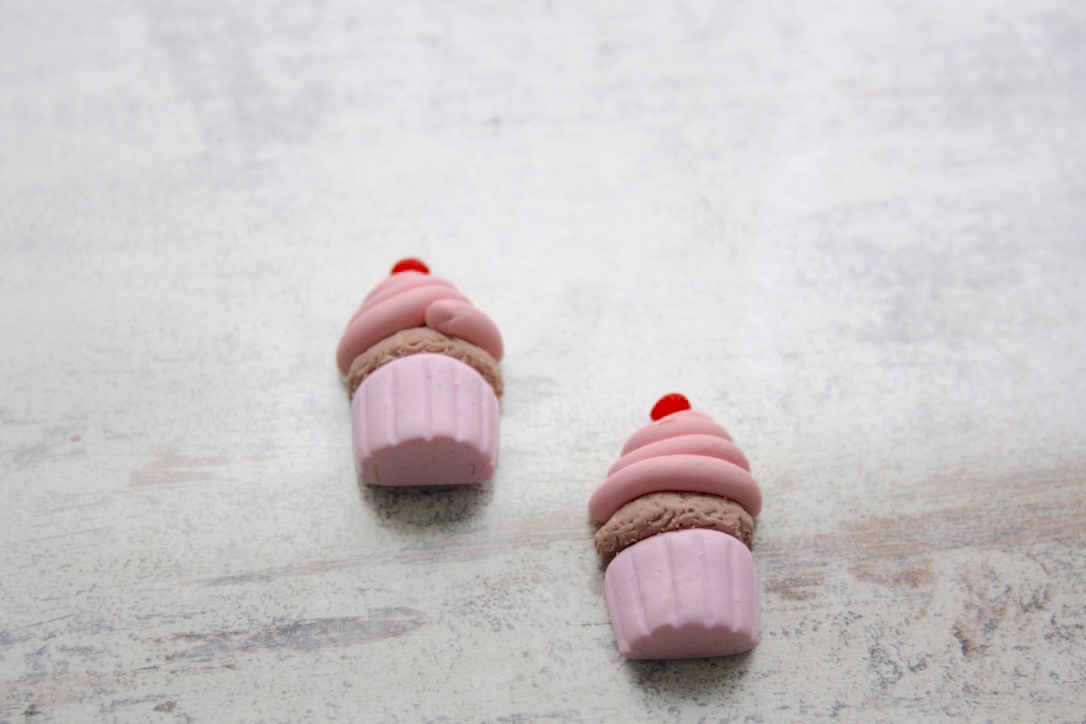
Now you have two cupcakes ! MAGIC
Now you can add the magnets. Use any you have at home or you can buy them at the shop.

Mine are from amazon if you’re wondering.
No to the glue. I use special glue, but you can totally use super glue.
Depending on your age, please asked someone to help you. You don’t want to glue your fingers together, that wouldn’t be a nice surprise for your mother 😀

Before glueing I cleaned my pieces but thats up to you.
You can either use an exacto-knife or, what I recommend for safety reason, is nail polish remover! Just wet a q-tip with it and then go over the dirt, it should remove it, if it’s not to bad.


Perfect. !

Now to the glueing part.

Also, I broke one of my pieces, but you can super glue that, so don’t worry !

Fixed !

Than I glued the magnets on. ! I recommend putting the glue on the surface thats bigger, so you definitely don’t glue your fingers ! For me it was the cupcake.

After you’ve let it dried completely you can glaze it ! if you have Fimo-glaze use that one, and if you haven’t got that you can use clear nail polish !

All finished ! Yay! ( I didn’t have much time when I did this, so there is still dirt on the left one.. whoops.)

I really hope that helped you out, if you forgot about mother’s day ( its on the 10th of May)
And even if you’re doing this for another occasion, I still hope you can surprise someone, ore yourself with your skills 🙂
∼Lola Who
P.S. : Here’s a picture of those super strong magnets ! WOW! also excuse my ugly ass thumb.


Great tutorial!! Love this idea, so sweet!!❤️❤️
Thank you so much ❤