Today I want to talk about a topic that has been close to my heart for some while now, and even though I’ve been looking at it from different perspectives I am still confused.
I have been active and inactive on Instagram and my follower count shows that.
So since I have decided to give all of this a second try, I looked more into the accounts of people of my community who have thousands of followers.
Now let me say. The ones that have the biggest follower count are the most active and also the most hard working. Some of them put all of their heart and time into making their business grow. And some of them managed doing that in a really short amount of time.
I can just assume how much money and where they spent that money to get enough recognition, but that is not really important for me.
I am mostly wondering about people who have 2-4K Followers.
For me that is a giant number. For you it might not be, but those people make good business with their account.
Most of them are still in high school, and can use the money they make for their future, so what they’re gaining isn’t really a monthly income, more like big pocket money.
But as some of them are still in high school, they’re still developing their skills, which can sometimes be underwhelming. So why do they have this follower count, when there are many people out there working harder and having more skills? People who decided to make polymer clay their job. And who don’t have the recognition they deserve.
NOTE: For me it’s still a hobby.
Personally I just want to make a enough money to live independently from my parents, which have to give me money even though I will have a job by next month and even though I am living in a student apartment, which are cheaper than normal apartments.
So making a few extra bugs each month would really help me out, so for that I started looking into online shops again.
If you’re thinking this is a shallow reason to start doing this again I must assume you’re still to young to live on your own.
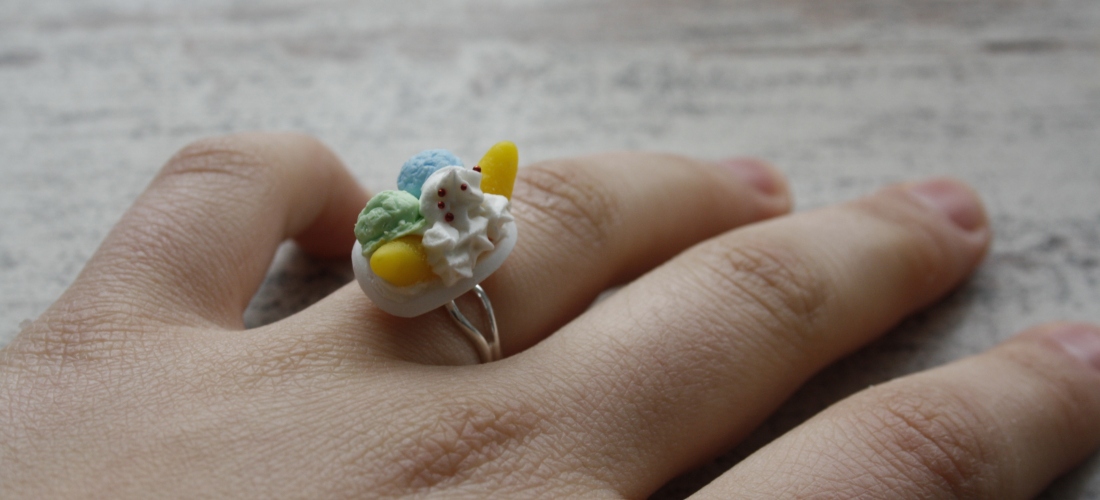
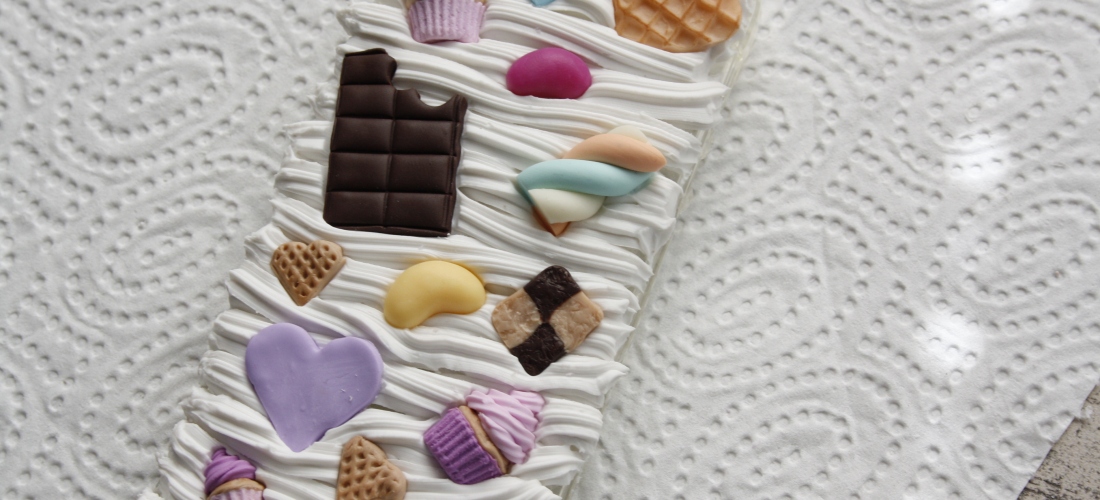
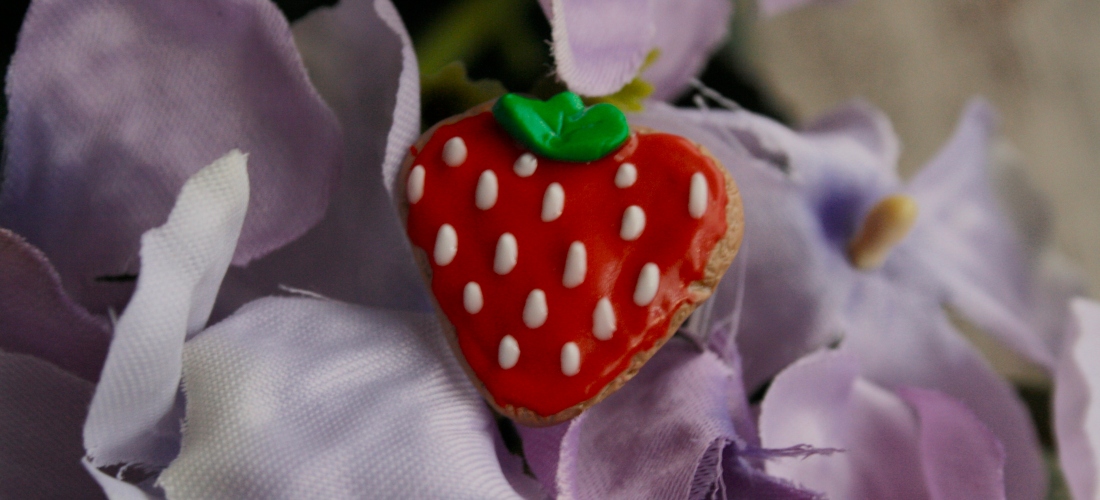
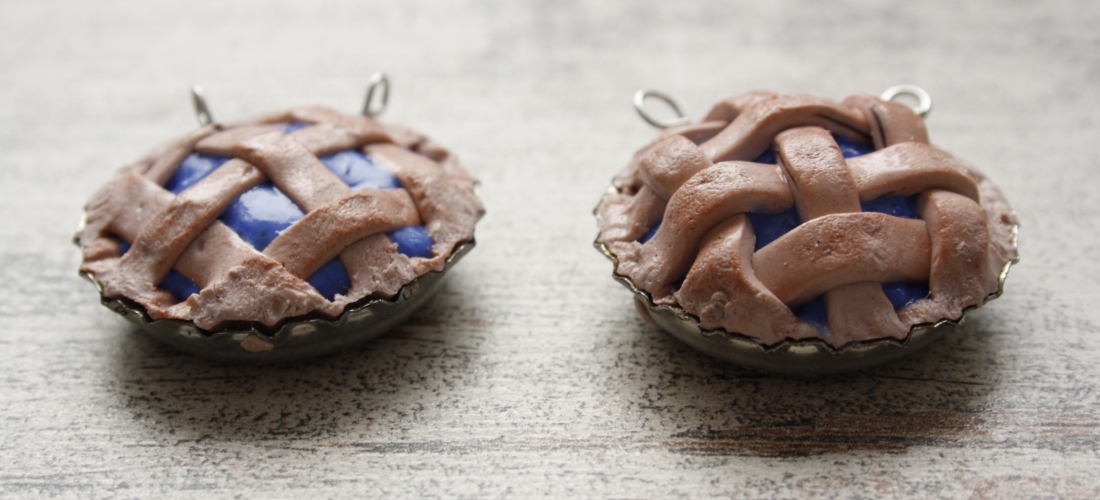
I have been going to fairs/shows to sell my jewelry for two years now, and had the most fun doing this, even though I rarely got the rent (for standing there) back.
Displaying my Creations on the internet was more of a burden though. So I didn’t do that often.
But now that I’ve given myself a purpose with this internet thing, and an actual schedule making me treat this hobby more like a job I am enjoying this ‚job‘ quite a lot.
My ideas which had been buried under self-consciousness the past year have come back, as I am thinking what can I do to pop out between all the other talented people.
Coming up with new ideas every week gives me extreme creativity flows which haven’t turned into rivers, but who knows that might happen.
Sometimes doing things just for the fun of it doesn’t get you were you want to be.
But sometimes doing it to stand on your own feet, or to stand out from the crowd, or to be famous can give you enough purpose to actually find the (long lost) fun (again).
I am happy with my decision and willing to keep going until I am where I want to be. I want to inspire and I want to live happy with my work.
And I am onto the second point already.
And even though I still don’t understand what makes people more famous than others that might be even better, I will work on myself and do what I can to reach my goals instead of envying others.
Creativity and the life of Artists is full of rivalry and sadly not romantic at all. Doing things for ‚good‘ reasons might not satisfy you and that is totally o-k-a-y! Give yourself a reason that gets you going and start. And if that is to ‚become crazy internet-famous‘ as the lovely Ben Cook says, than do so. But please don’t forget to be kind to people on your journey because you can’t make it on your own. Sometimes everybody needs help.
If this text-post helped you in any way ( i hope) please let me know and share my work with friends ! It would really really really lik-e help me!
And if you have had doubts about your reasons to begin with something, fucking start doing what you want to get where you want to be !
Lots of love !
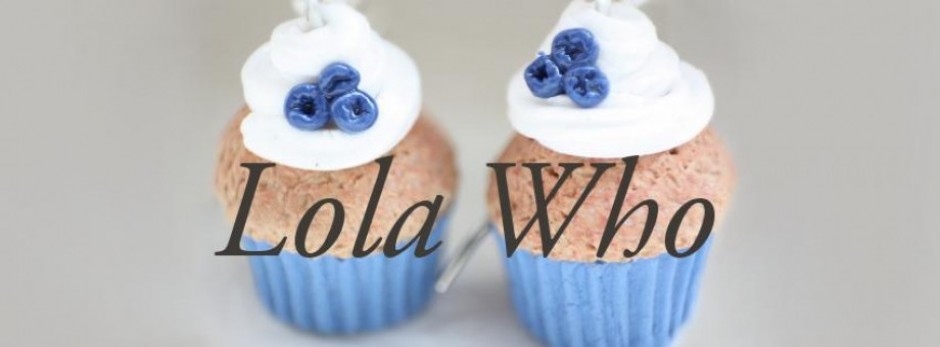
∼Lola Who