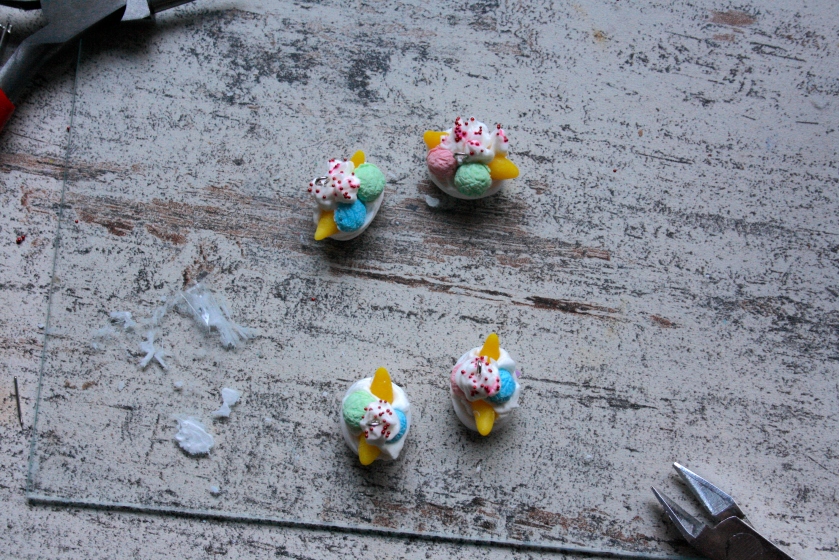
HOW TO MUG – PART 2

Tutorials

Hello lovely People of the internet!

I have been away for quite some time, and in the last blog post I promised you a follow up tutorial to show you how to use the mold we made in that tutorial.

So here we go:

You will need:

  • clay
  • a ball-tool
  • some tiny knives

MUG-1

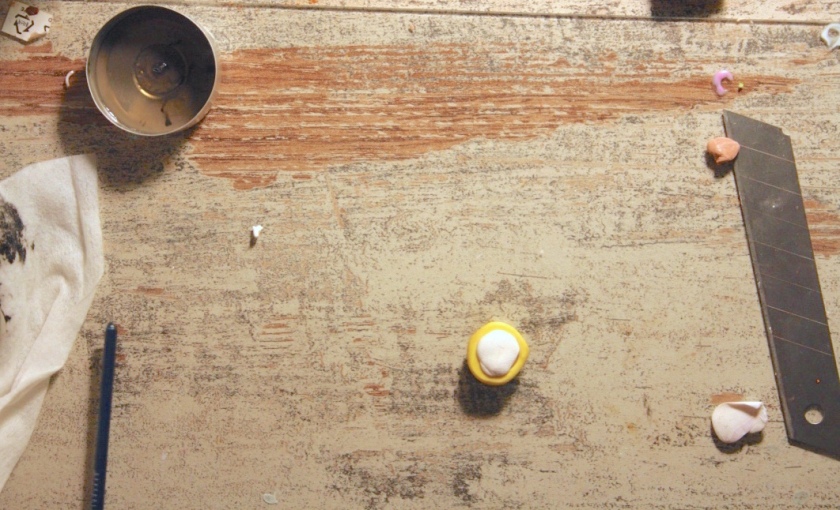
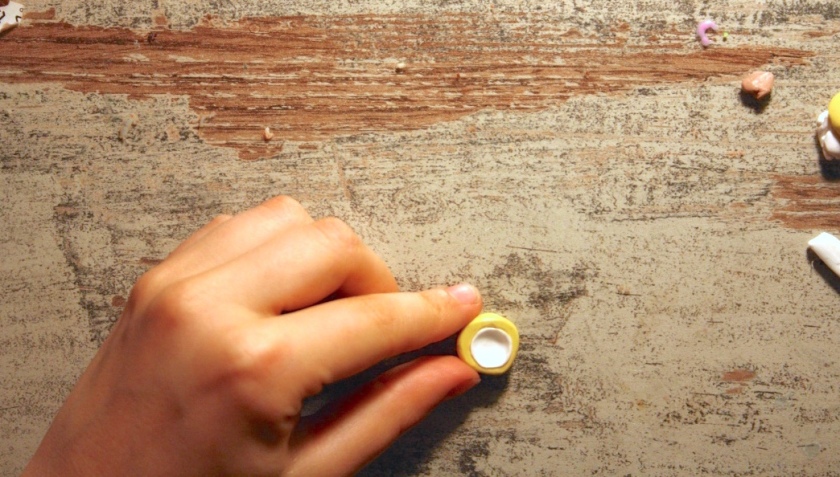
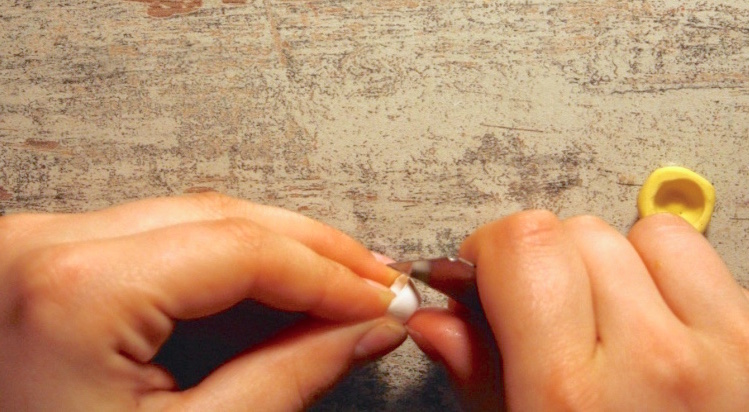
First you have to fill up the mold with your clay.

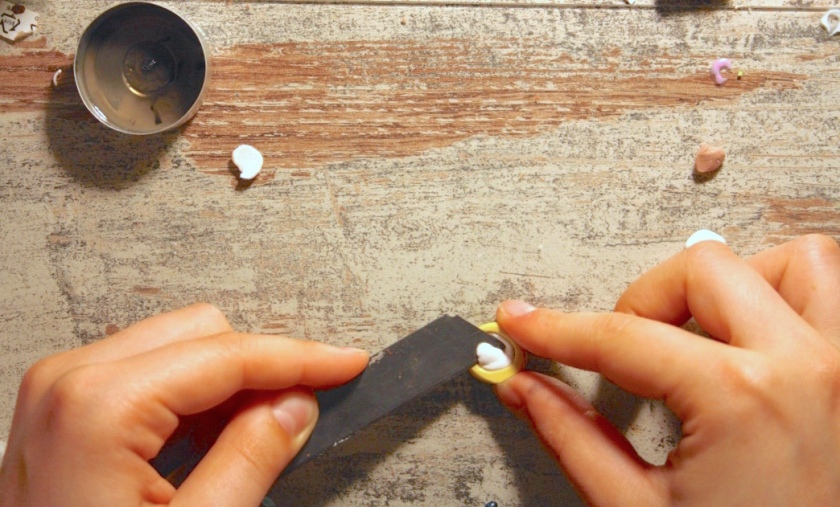
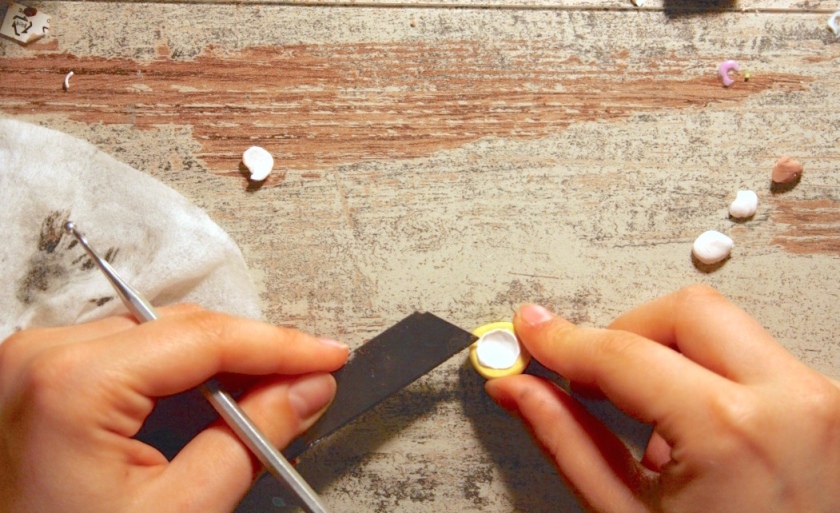
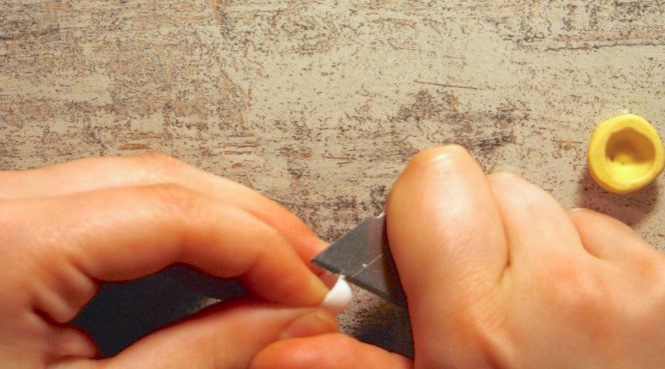
Then remove the clay you don’t need with a knife.

MUG-3

I even removed a bit from the center, so it will easier to form it in the next step.

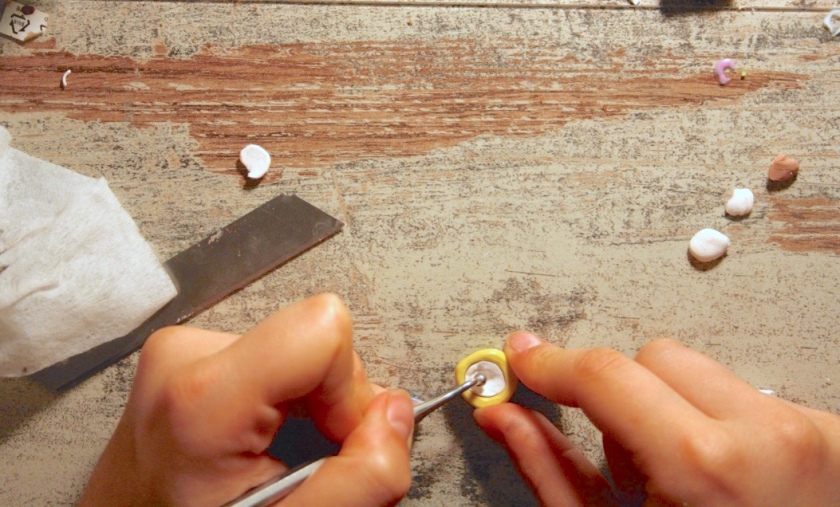
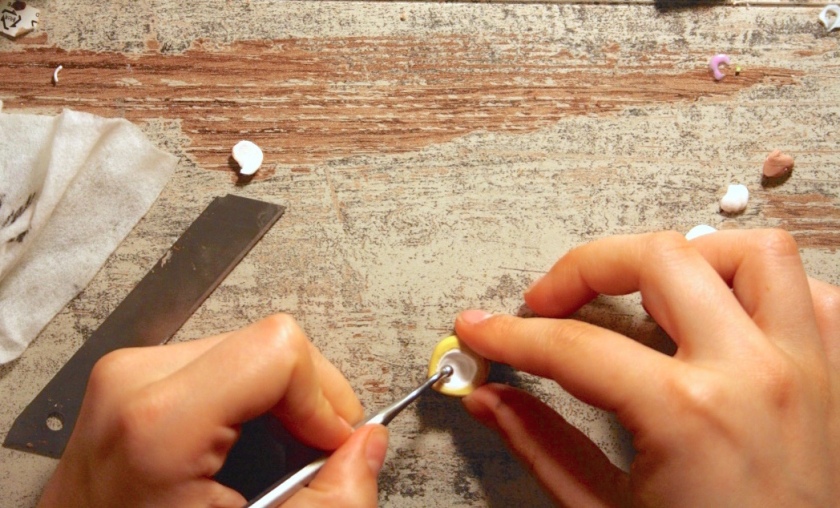
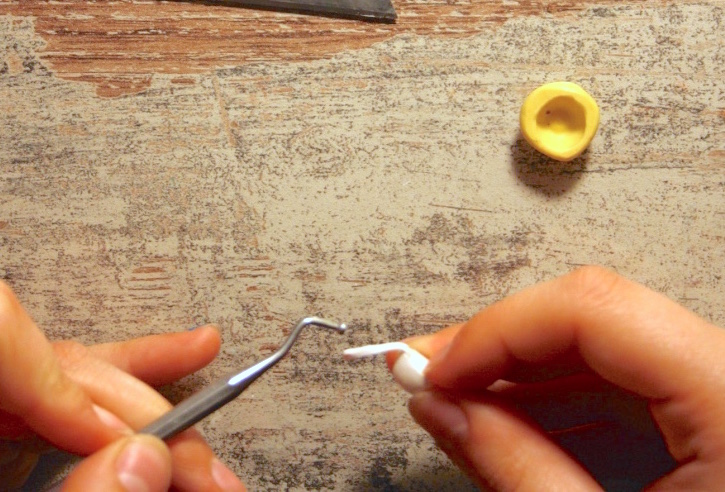
For the next step you’re going to take your ball-tool, and push the clay into so mold to hollow it out.

When you do this, clay will push up, which you have to remove again.

MUG-4

Use the knife to remove the excess .

MUG-5

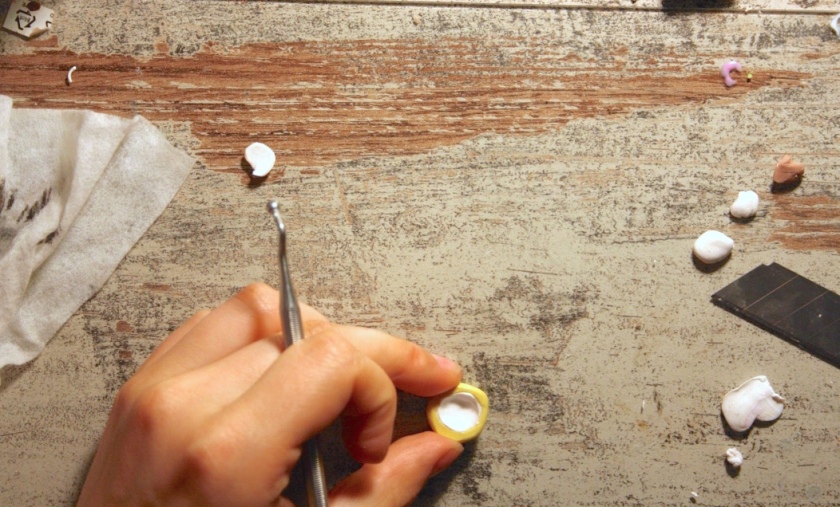
Hollow it out even more, until you’re happy with the shape.

MUG-6

MUG-7

Now it is time to put in in the oven for around 10 to 15 min. You want to bake it a shorter amount of time, since you will have to bake it again later on!

MUG-8

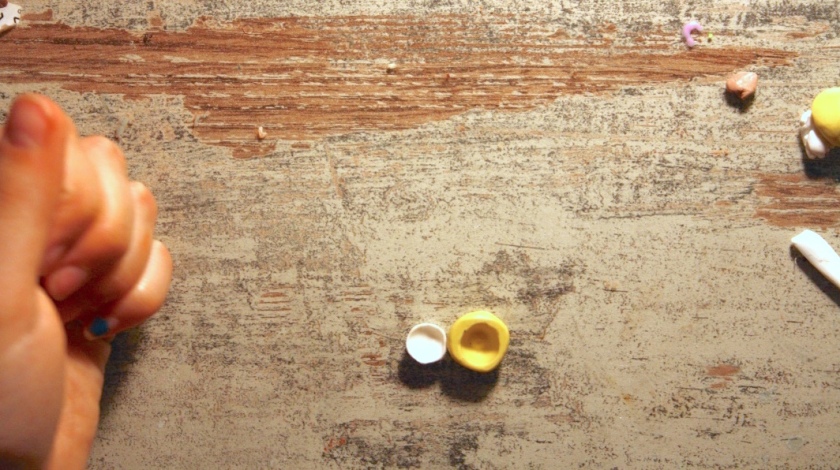
When it is ready, let it cool off, and then pop your shape out.

MUG-9

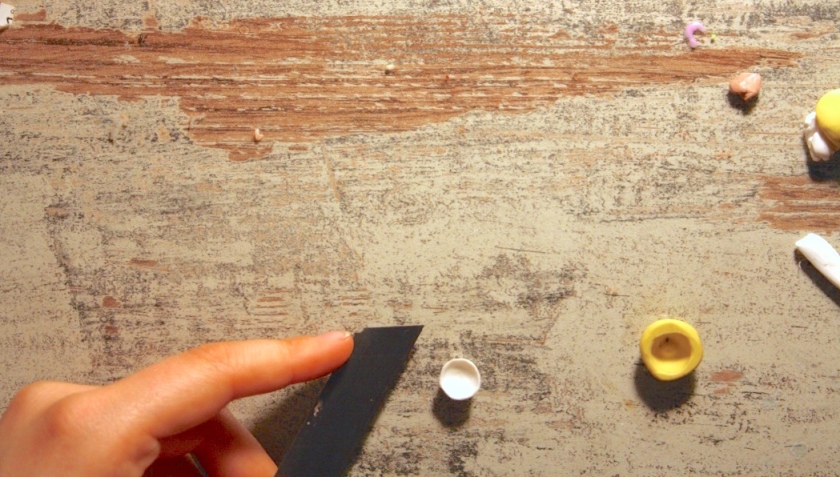
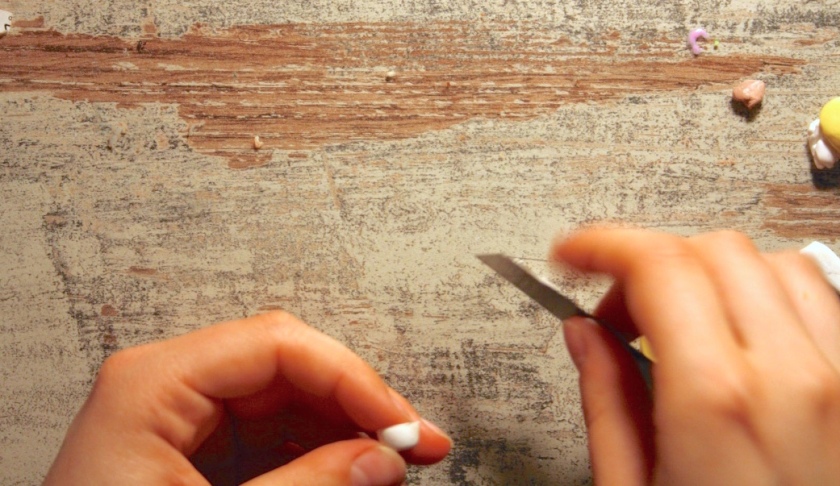
Usually the edges will be uneven, so I take my knife again, to carefully remove more excess and make it smooth.

MUG-10

MUG-11

MUG-12

MUG-13

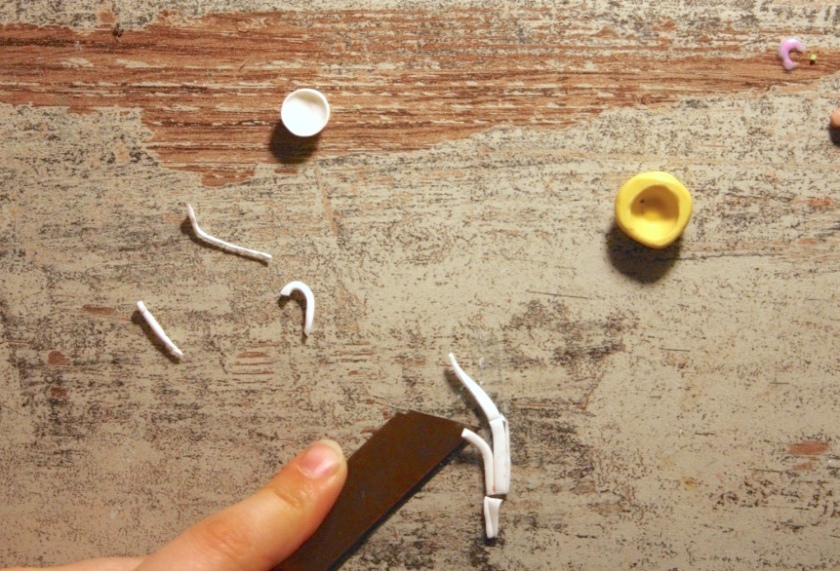
When your cup is ready we can move onto making the handle for the mug.

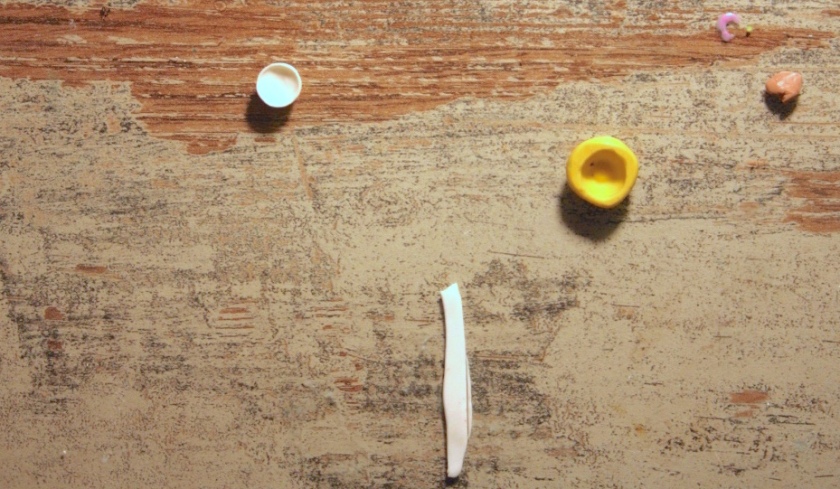
Roll out some clay in a thin shape.

MUG-14

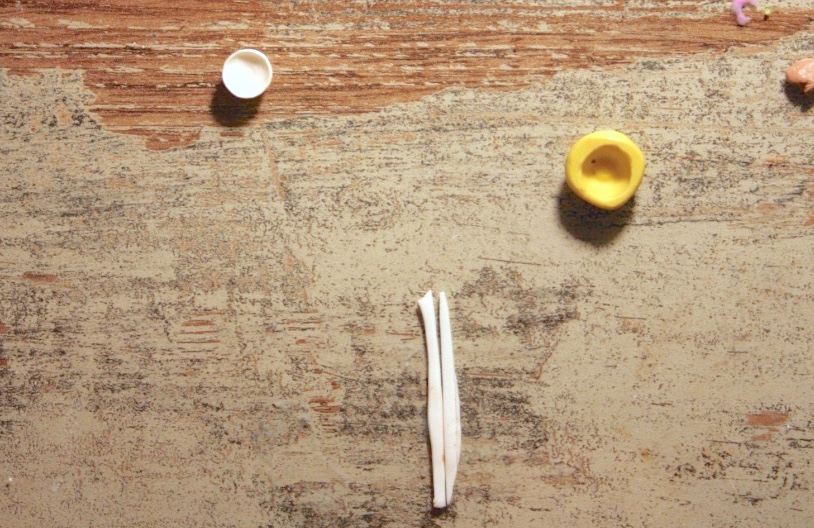
Cut it even thinner.

MUG-15

Cut it to the length you will need.

MUG-16

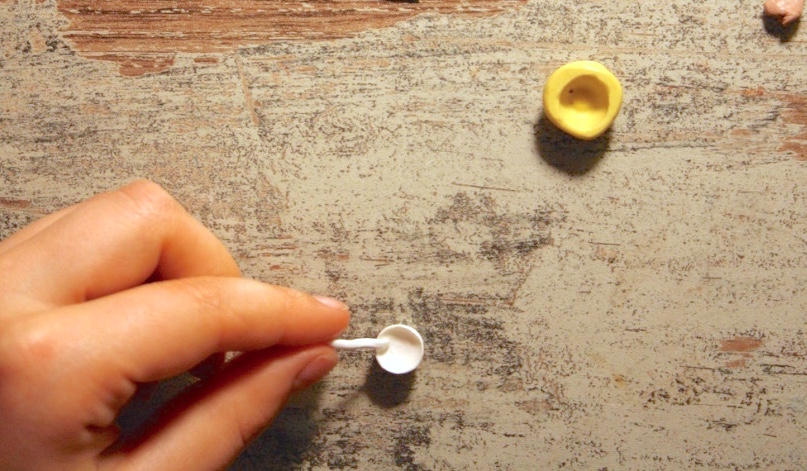
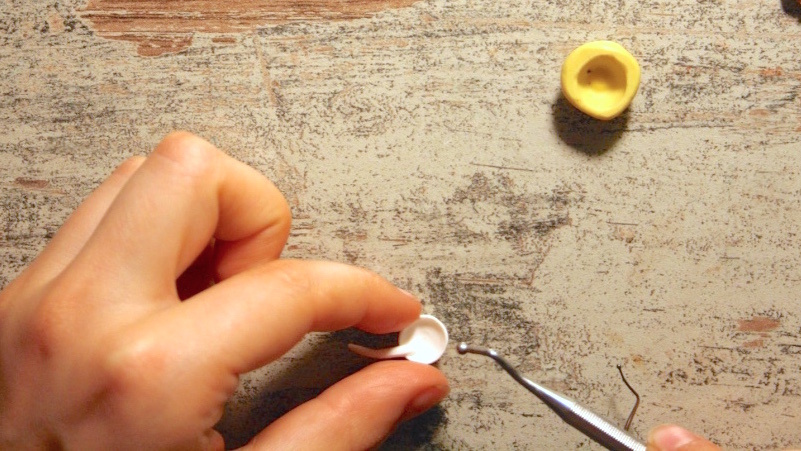
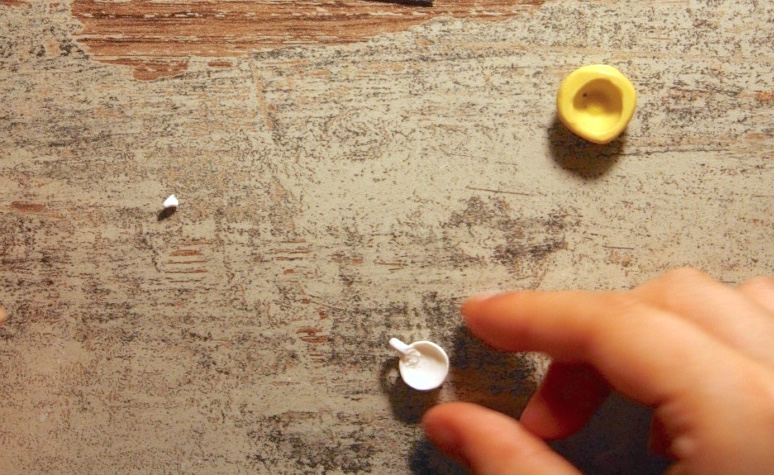
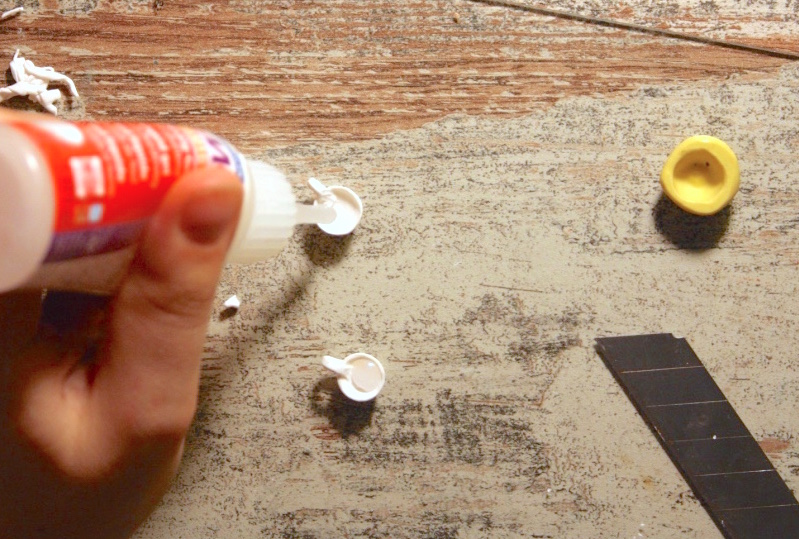
Since our cup is already baked, it is pretty easy to attach it to the inside of the cup.

MUG-17

MUG-18

MUG-19

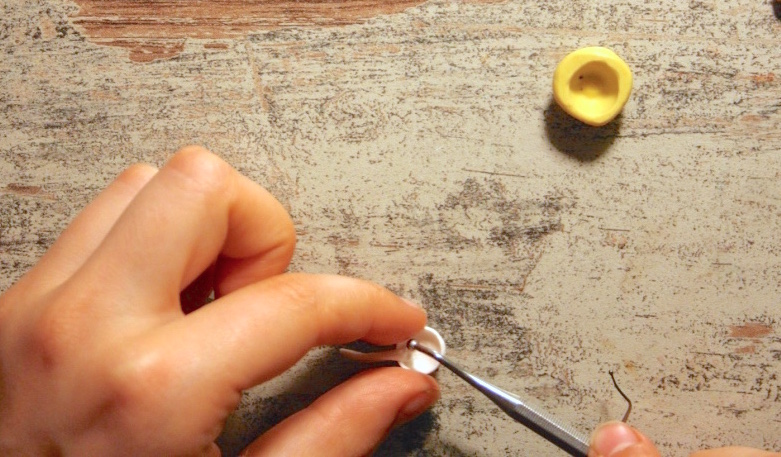
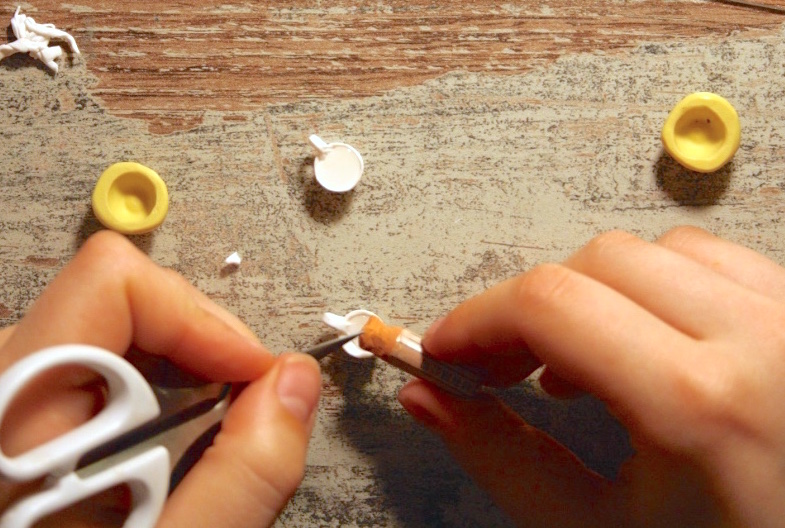
If it is well attached, move it around, and attach the other side to the outside of the cup.

Don’t press to hard! We want the outside to look fine, and not like the inside.

MUG-20

MUG-21

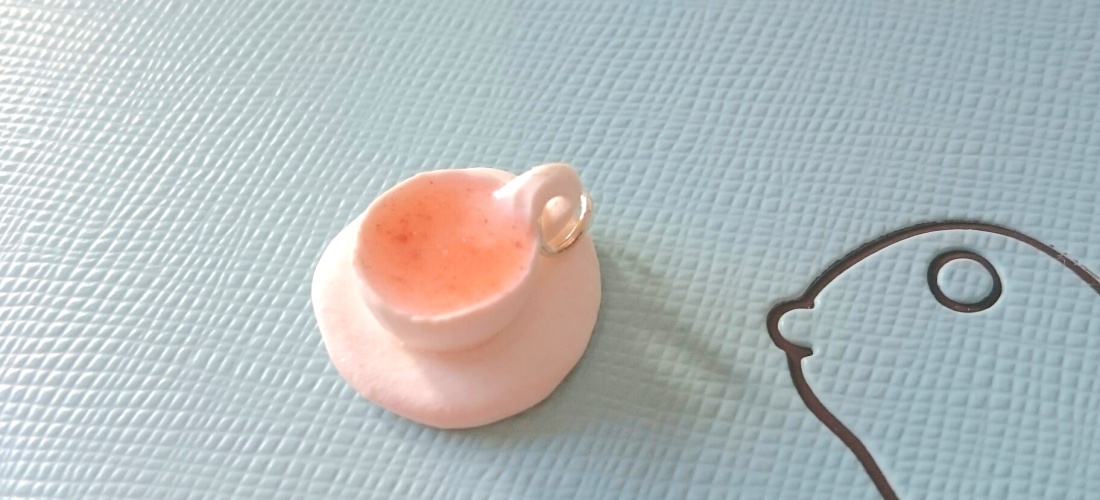
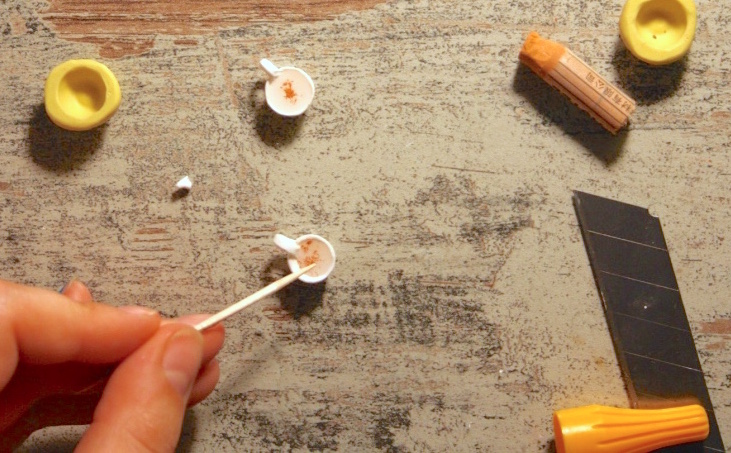
When you’re ready, you can start adding the tea or coffee or any other drink you want to fill your cup with.

I started by filling the cup with Liquid Clay.

Then I used pastels and a knife to sprinkle some fine powder over the top.

MUG-22

MUG-23

Mix it in using a toothpick!

MUG-24

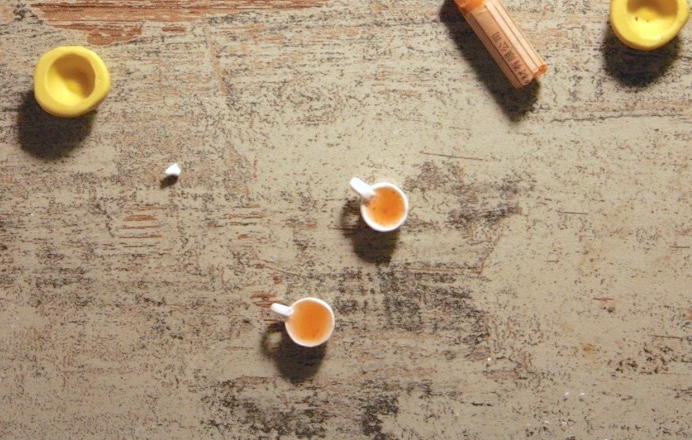
Well…and then you’re ready!

MUG-25

Now all you have to do is bake it again in the oven for another 20 min. and tadaaaaaa, you’re done! Yeah!

xo,

Lola Who

P.S.: I am planning on blogging more often again!

Wish me luck!

..Cake..still?!

Lola thinks about..

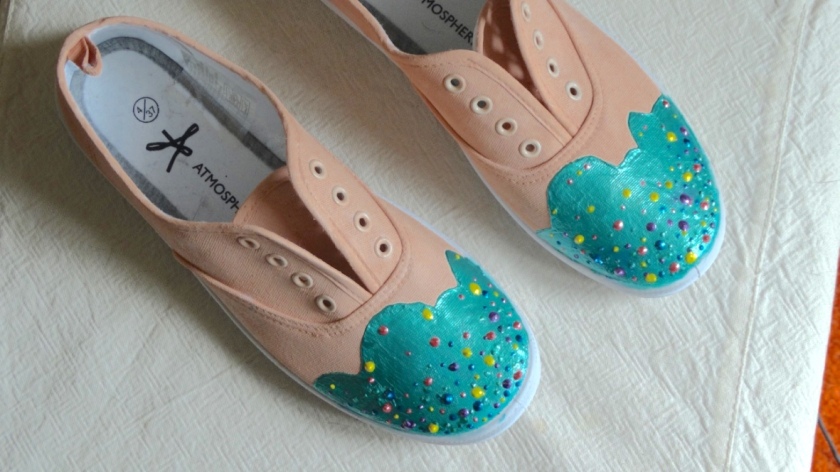
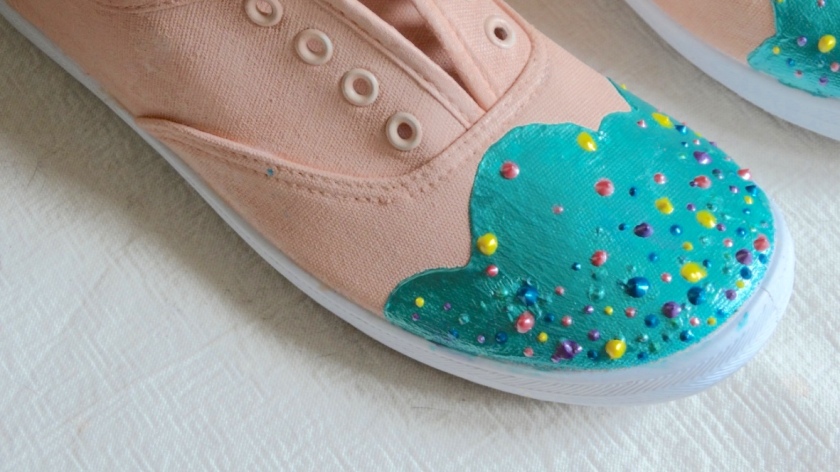
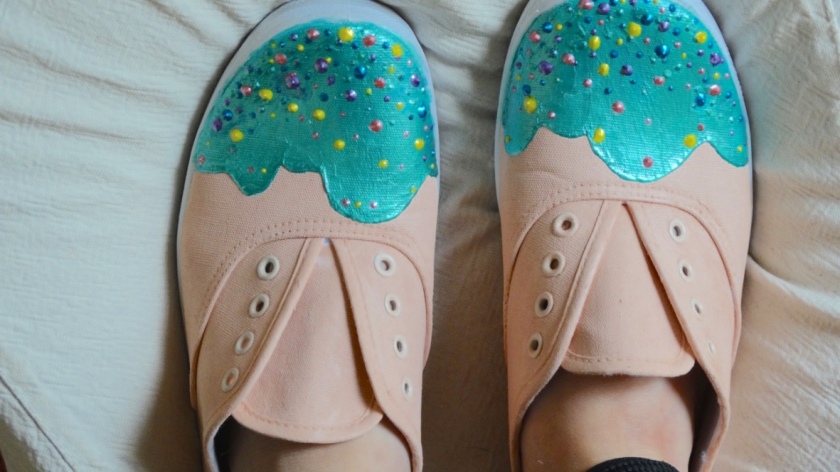
Yesterday I spent the evening making shoebakery inspired sneakers as there is no way I can effort those dreamy shoes.

I will buy a pair in the future that’s for sure, but for the moment my false ones have to do the deal.

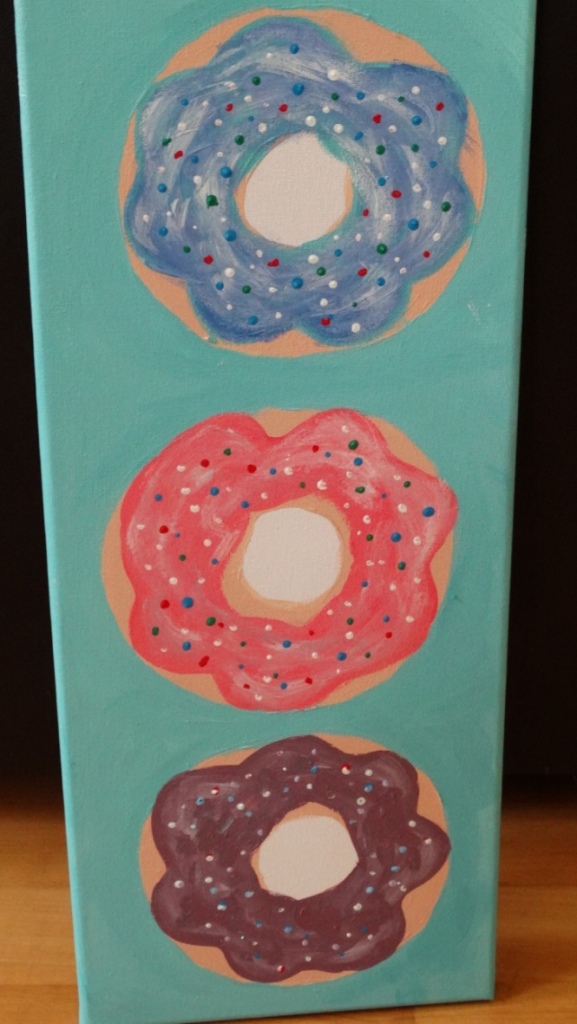
While doing that I also made a simple donut painting, which would look lovely in my future kitchen 😀 :

thumb_DSC04099_1024

And while doing all of that I watched ‚the great british bake off‘. For 9 hours straight?!

Don’t shame me !

I had a free day yesterday! So I had it running in the background. Now I am in the mood to bake bread.

But here is a short tutorial for the shoes :

This is how the shoes look :

thumb_DSC04091_1024

thumb_DSC04093_1024

thumb_DSC04096_1024

I wanted to film the progress, but I didn’t have my tripod nor enough space on my SD card.

Basically, what I did was : I painted the white sneakers in a skin color first, I used acryl colors for that, and then later also with acryl I painted the ‚dripping sauce‘ .

To make it look more 3D I used puffy paint which didn’t work all that great. but I sort of got the finish I was going for. Unfortunately I wasn’t that happy with color anymore afterwards.

And then I added the sprinkles. I used puffy paint again, but l have to say i am super shit at dots of any kind. I always put to many on. Now I don’t like the look of them so much anymore, as I think the sprinkles overload everything.

I tried making everything better by painting over some sprinkles which made it worse, and then I decided to make some sprinkles bigger, which also didn’t save them.

Kinda unhappy with the finished product, but what ever I tried.

I hope you enjoyed this little failed tutorial, and excuse my different style of ‚Lola thinks about..‘. There just no polymer clay related things that I am thinking of at the moment.

But if you’d like to hear my opinion on polymer clay topics please let me know, I might actually have an opinion :P.

xo,

Lola Who

DISCLAIMER: This isn’t my idea like I said in the beginning. I made those shoes only for myself.

Tiny Macaron Nation

Tutorials

Today I am going to show you how to create teeny tiny macarons.
It is rather easy. Well at least easier than you’d think.

You will need any kind of clay you prefer. I recommend soft clay (fimo).
Choose the colours you like aaaaaaaand…..

…..LETS START….

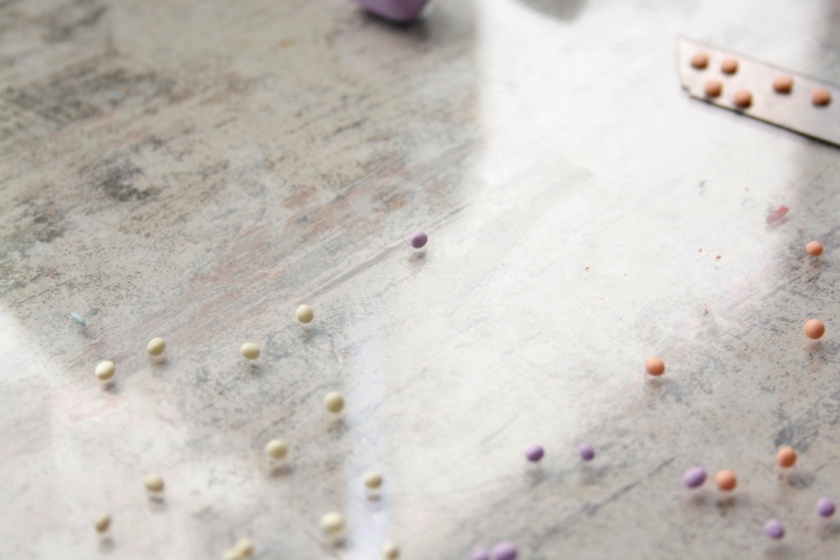
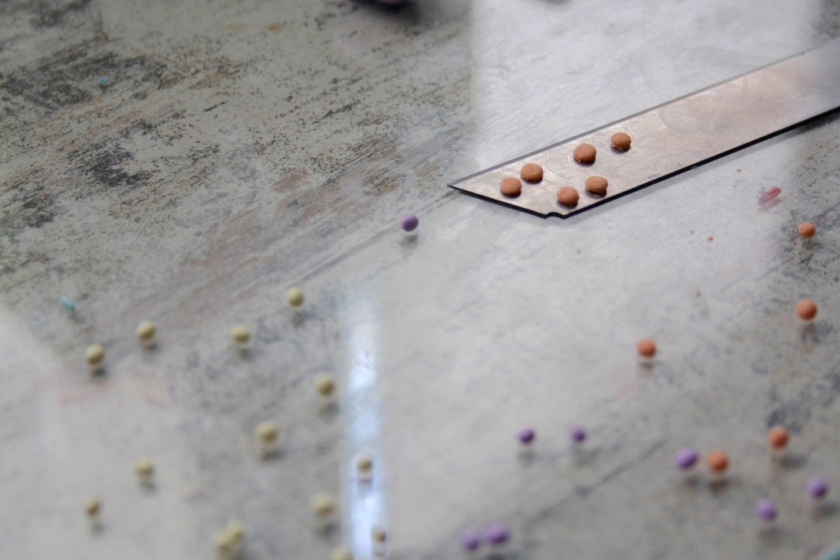
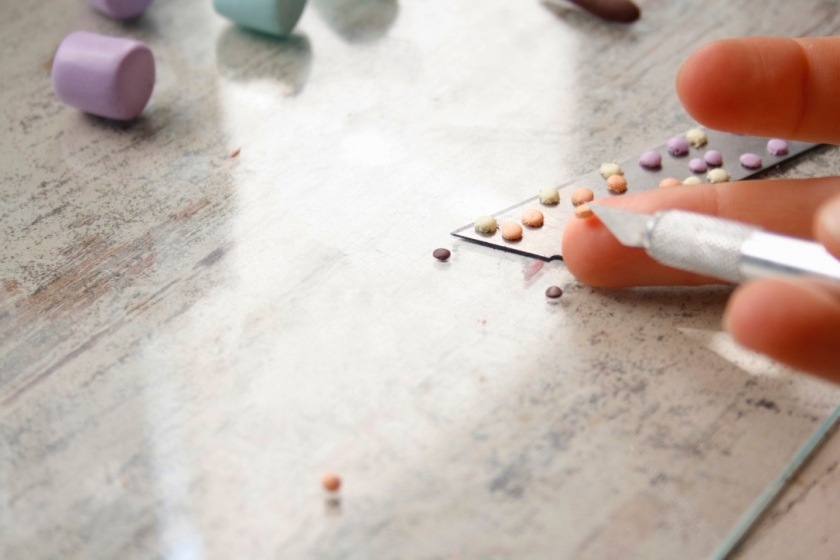
Start by making tiny balls. The size depends on what you believe you can do. If you’re insecure start with bigger ones. Just make sure the balls are kind of even ;).

thumb__MG_8365_1024

Then you’ve to flatten them out. Again that depends on your liking. I prefer flat ones 😀

thumb__MG_8369_1024

I have already started ^-^

A tip : use something to put them on, so you can maneuver around , and your head is not glued to the table. Better for your back/neck. And eyes, if your lighting sucks.

thumb__MG_8373_1024

thumb__MG_8375_1024

On to the next step. Take a needle and pick into the bottom. Make little holes, like the air-holes that appear on real macarons.

thumb__MG_8376_1024

thumb__MG_8377_1024

This is what it will look like. Don’t worry if they’re not perfect. First of all , the real ones are also one of a kind, and secondly, most people won’t be able to see them that well anyways 😛 .

thumb__MG_8379_1024

Next you’ll take your filling colour, mine will be chocolate so fimo-chocolate is my choice.

thumb__MG_8384_1024

Again, start by making small balls and flatten them out. Try to make the size fit your macaron. This is a bit difficult, you have to try a lot more, since the ball for the filling is so much smaller.

thumb__MG_8385_1024

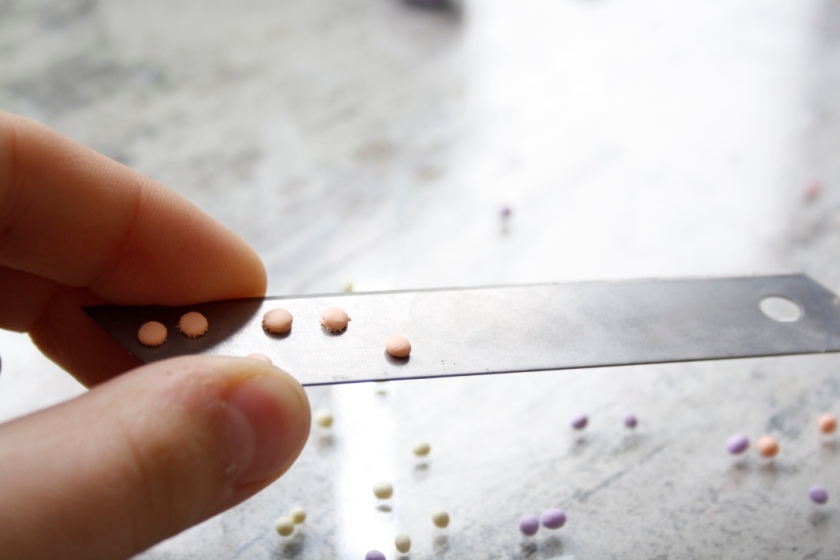
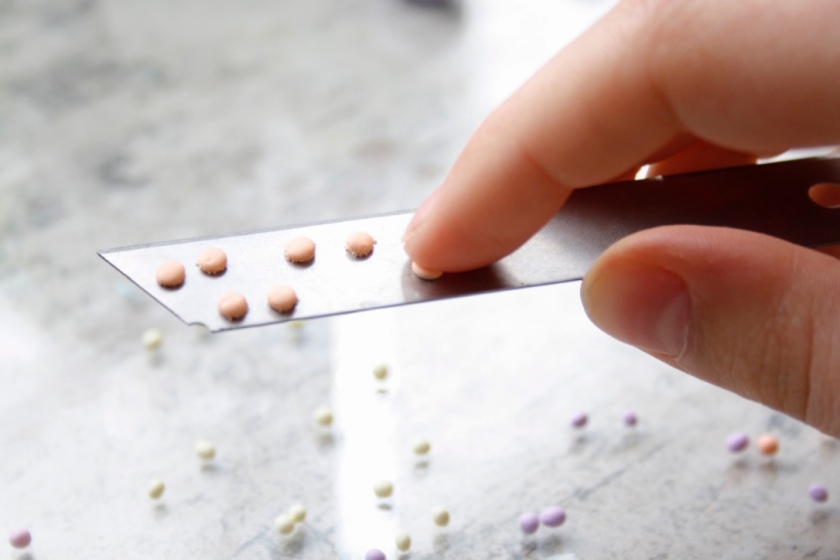
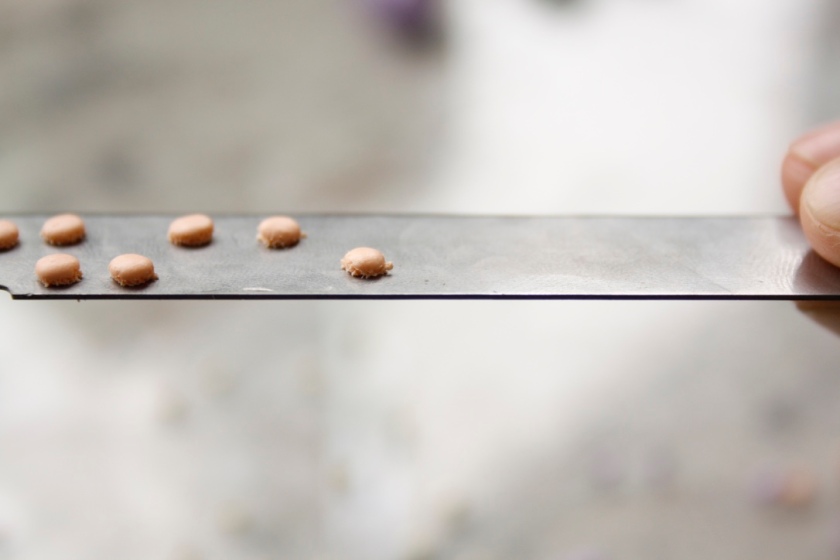
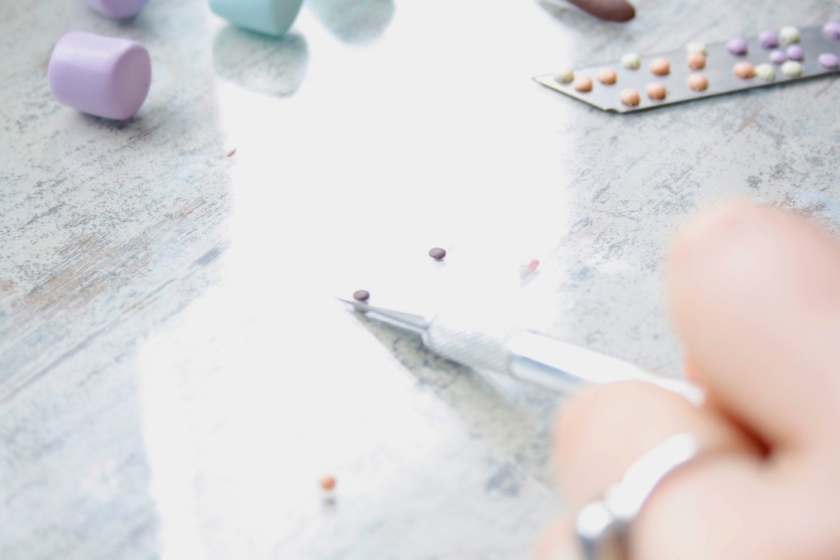
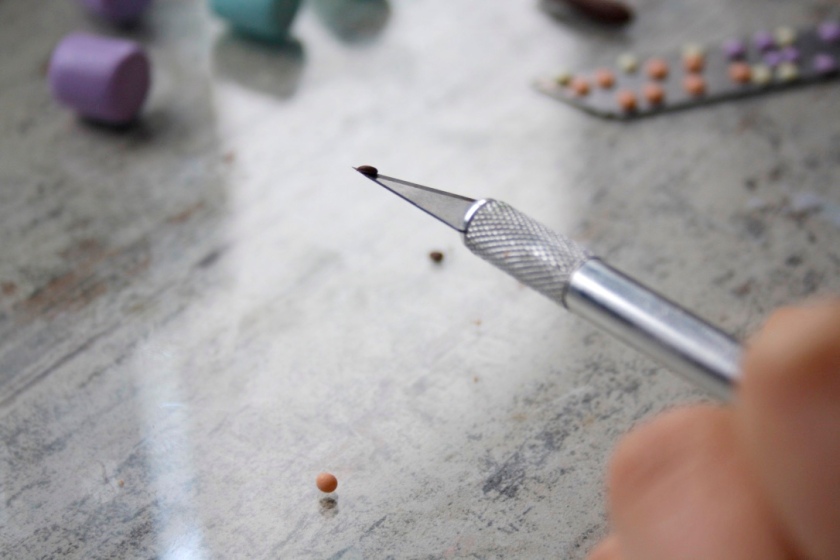
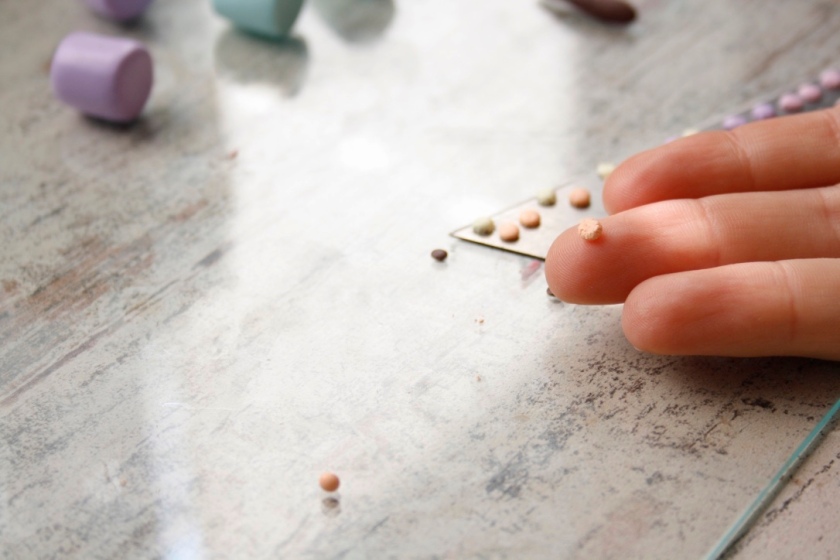
If you want to check the size, you can pick it up with a knife, or similar thing.

thumb__MG_8386_1024

thumb__MG_8387_1024

(Excuse the lighting, it was was very cloudy day when I shot this)

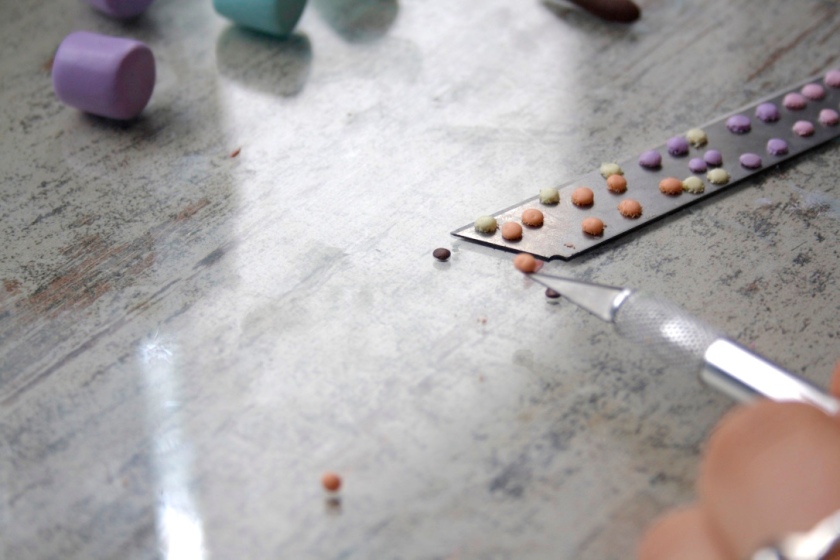
Next you can put down the filling, and pick up the macaron half.

thumb__MG_8388_1024

Put it on you finger !

thumb__MG_8390_1024

thumb__MG_8391_1024

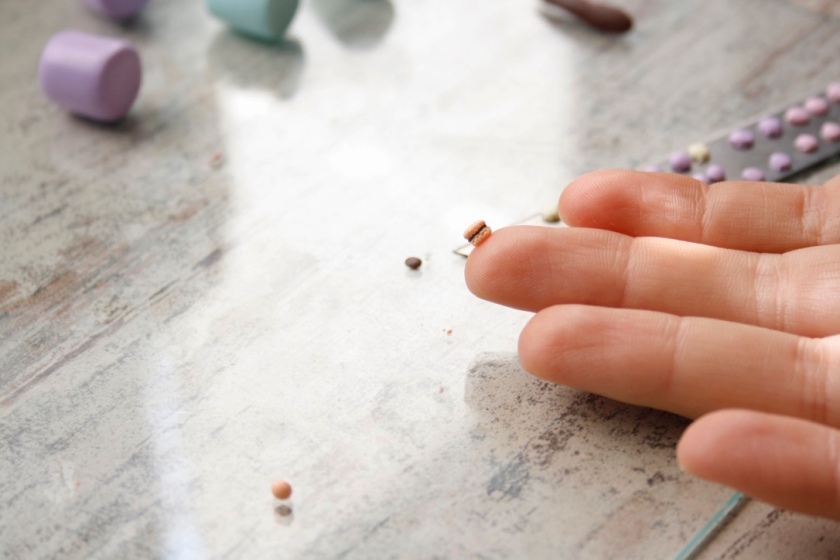
Now, there seem to be some lost pictures, but basically, pick up the filling again and place it on to the macaron-half. Then carefully pick up another half and place that on the other half.

There might be no pictures of this, as it can be quite ’small work‘. I didn’t have a free hand to take pictures.

But this is how the end result should look !

thumb__MG_8392_1024

The little cylinders in the back are for my next project. You can already find some pictures on my instagram, a link is in the down-bar ! ( click on the little triangle on the bottom of the page)

But the tutorial for this will be up next week !

So if you want to join me with the tutorial next week you can start by recreating these little macarons !

Have fun !

xo

Lola Who

..Rick Astley (Hunt) ..

Lola thinks about..

..hot damn!

Sometime during the last year I was feeling super funny and decided to hide a link to Rick Astleys ‚Never gonna give you up‘, to rick roll some unlucky visitor. So far nobody has stumbled across the unfortunate Rick Astley who changed from being a superstar into a internet-joke.

Unluckily for me, the internet is fast, and the joke was already over by the time I decided to make this joke.

Now, I never thought about Rick again, until the other week. And only because I was thinking about not standing there like a total weirdo when someone finds it in the 2022 or so.

And then today I clicked on it again.

I rickrolled myself.

Good dammit.

One time I try to be funny, but since no one ever goes to that part of my blog(or anywhere else, shout-out to my new followers) where the link is hidden, it had to be me who steps into the trap.

But I was saved my slow internet hooray.

So since I was completely out of ideas today (I did shoot 2 tutorials though) on the writing part to be clear, I was thinking it might be a good idea to introduce the Rick Astley treasure hunt ! (the treasure being a trap hooray).

No but jokes aside, the person who finds Rick first will get a handmade Rick-Astley-Chibi from me!  And if that’s not exciting I don’t know what is. (Oh yeah parteeeeyy)

I have made a Noodles ( Robert De Niro) Chibi before, so it will look somewhat like this. I am not a professional Chibi-maker!

All you have to do it comment on the place where you found it and be sure to follow me (on here and Facebook(so we can contact each other)).

It also might be easier if you followed me, as I’ve left a hint on one of my social media sites hehe !

xo, Lola Who

p.s. Link to its a trap ( picture is not mine ! but the blog is cool)

A motherly Tutorial

Tutorials

OK, so mothers day is on sunday so I thought I’d make a super quick and easy tutorial that anyone could totally do! So if you’ve forgotten about mothers day and you just need a quick idea this is perfect for you !

So let’s start!

You will need :
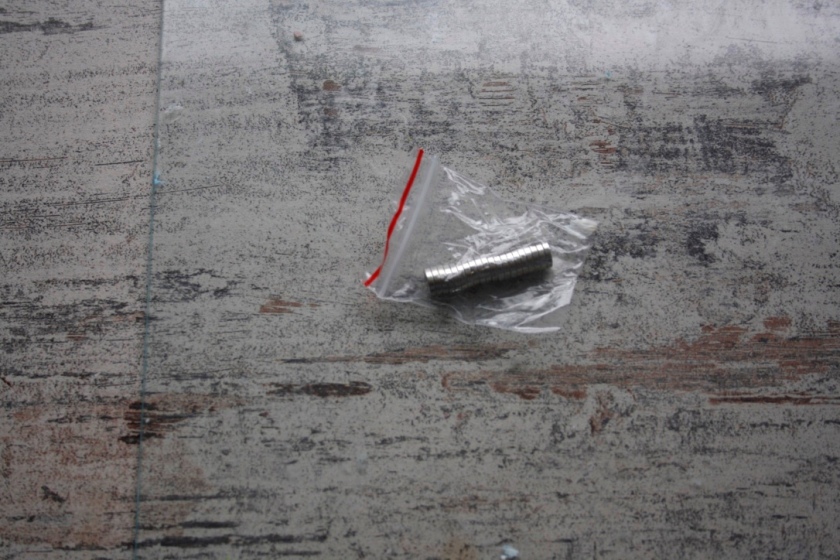
thumb__MG_8268_1024

magnets !( if you wanna make magnets!)
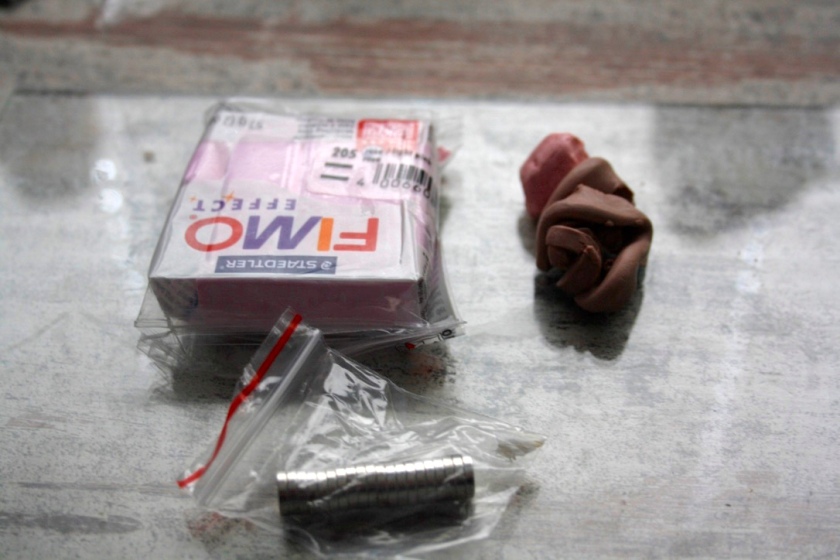
thumb__MG_8269_1024

SOME CLAY! the colors that you prefer 🙂

First you have to warm-up your clay!

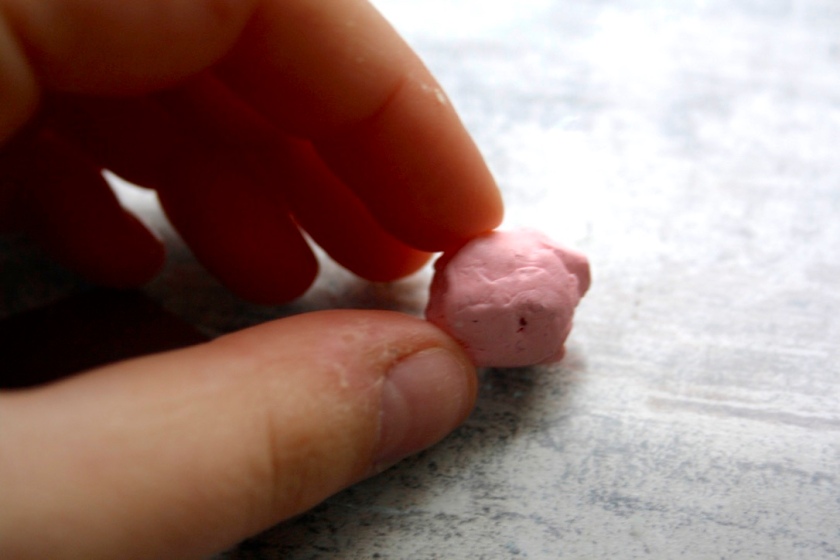
So make a ball !
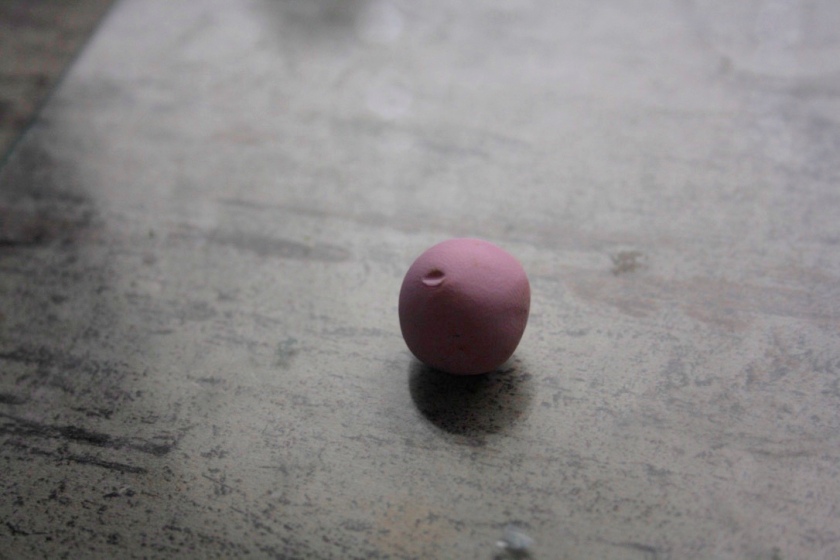
thumb__MG_8270_1024

Than you have to form a cylinder shape ! Kind of like this :
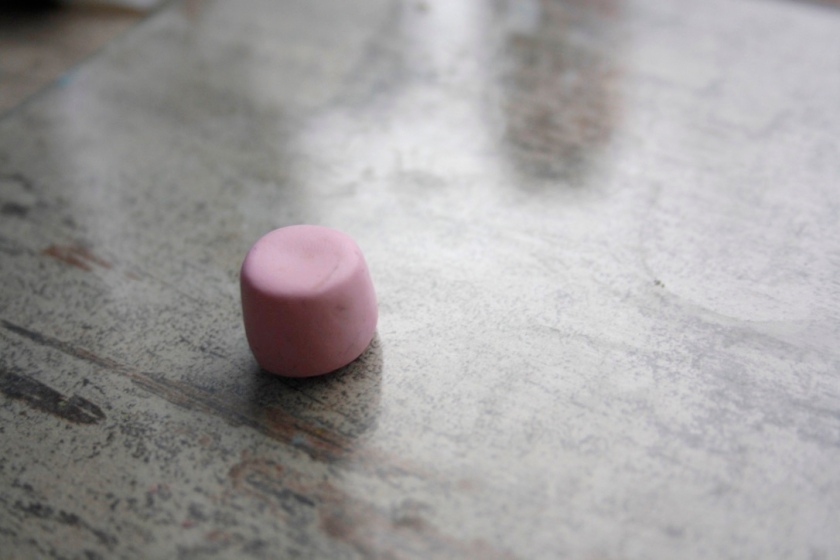
thumb__MG_8276_1024

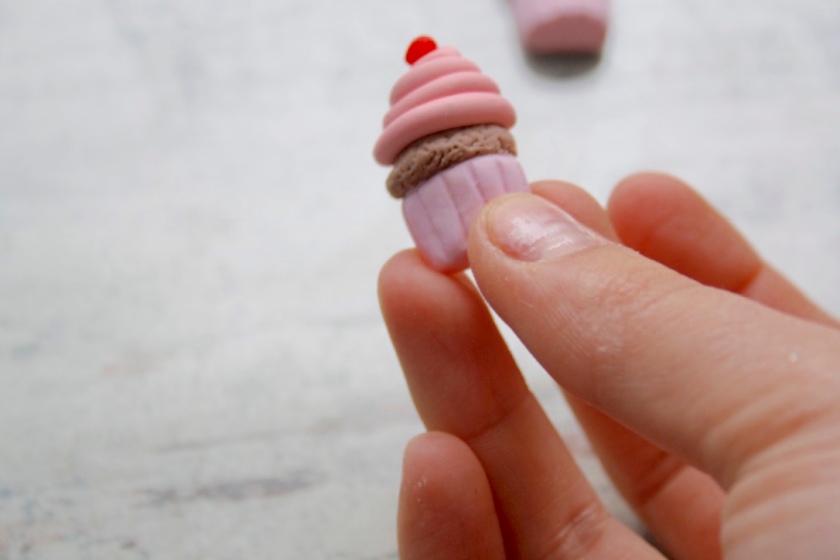
After that try to make one end slightly more narrow. So it looks more like a cupcake base:
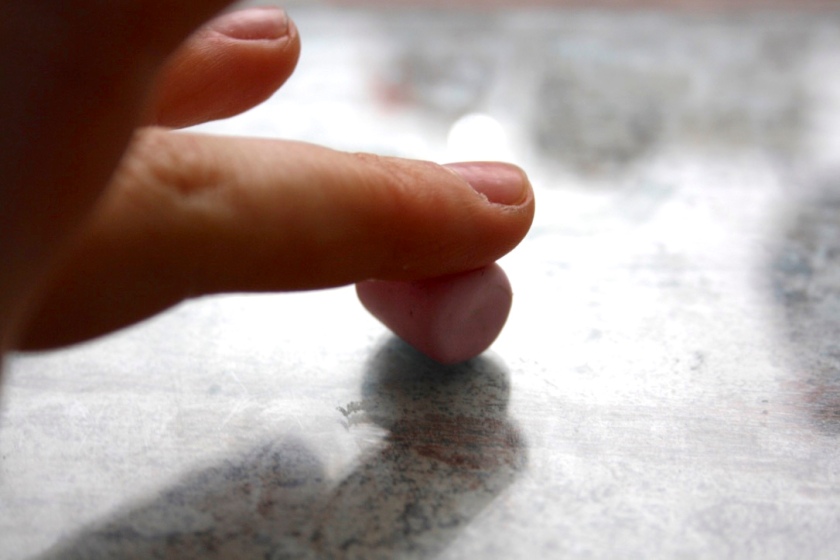
thumb__MG_8277_1024

Than take a tooth pick to make small indents int the base, to make it look like a cupcake wrapper:
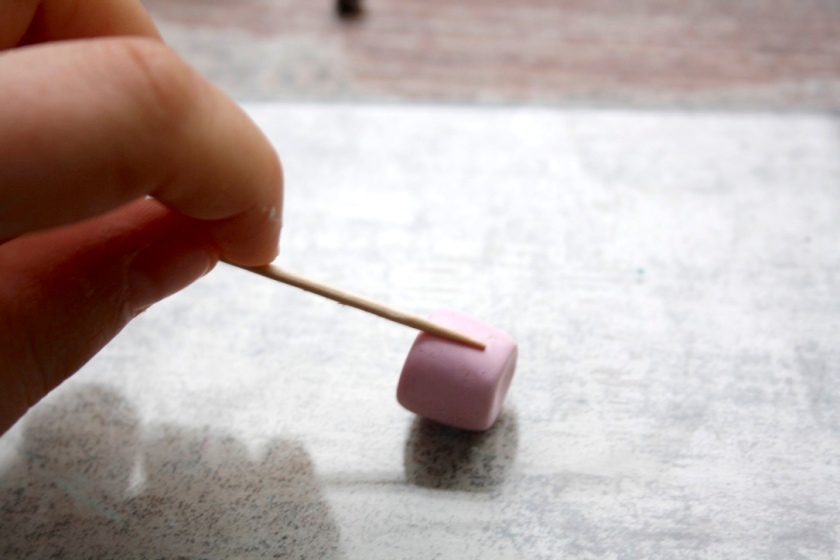
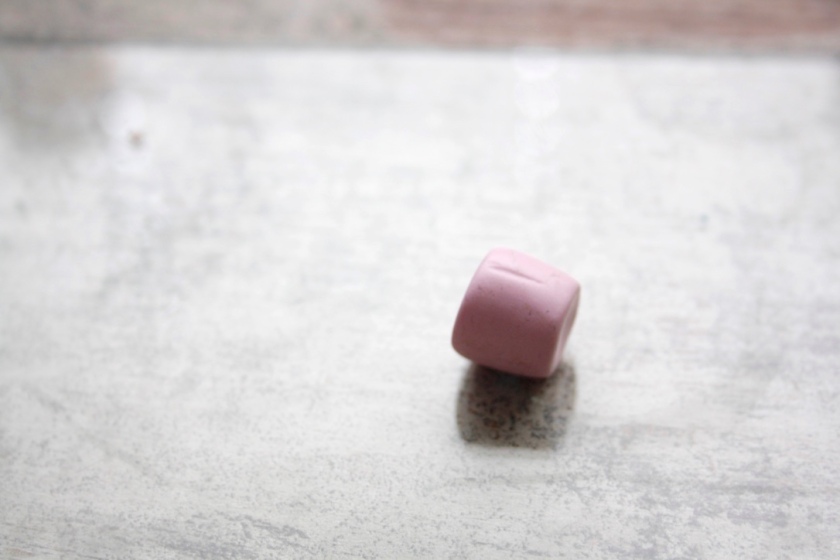
thumb__MG_8278_1024

thumb__MG_8279_1024

Make the indents all the way around! Try to leave the same space in-between them !
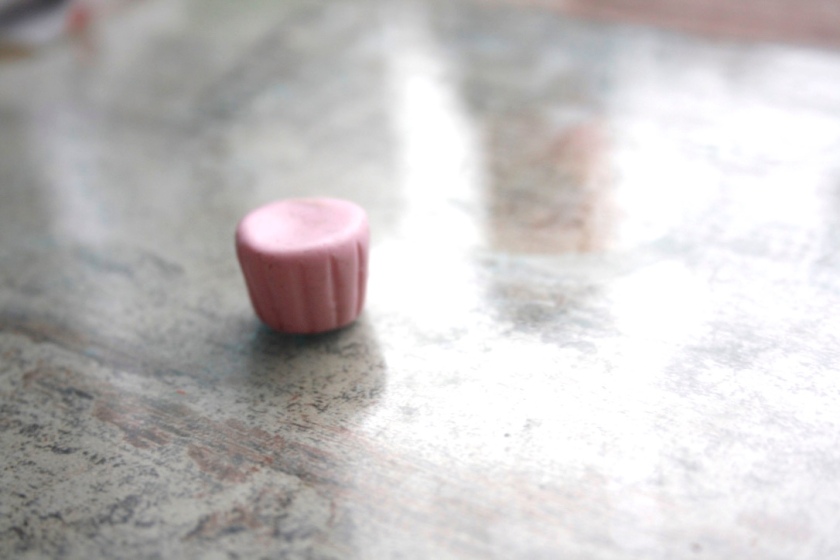
thumb__MG_8280_1024

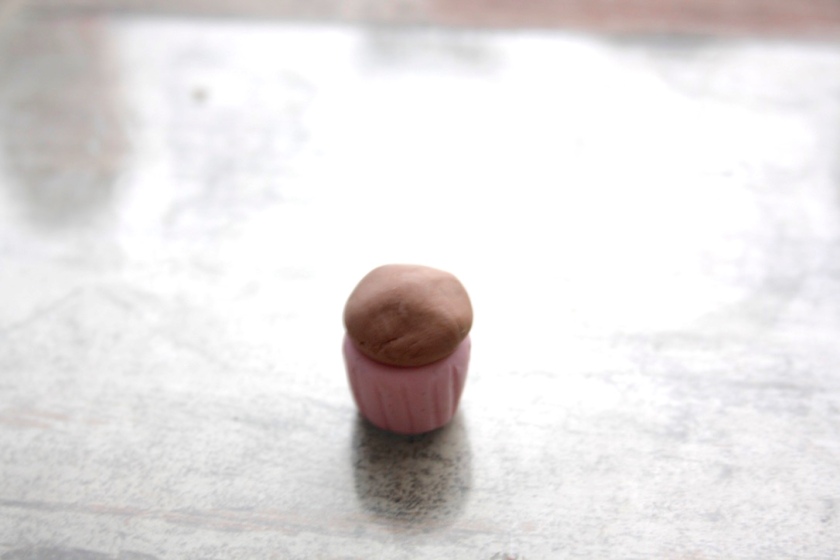
Now onto the cake bit of the cupcake : Roll and form :
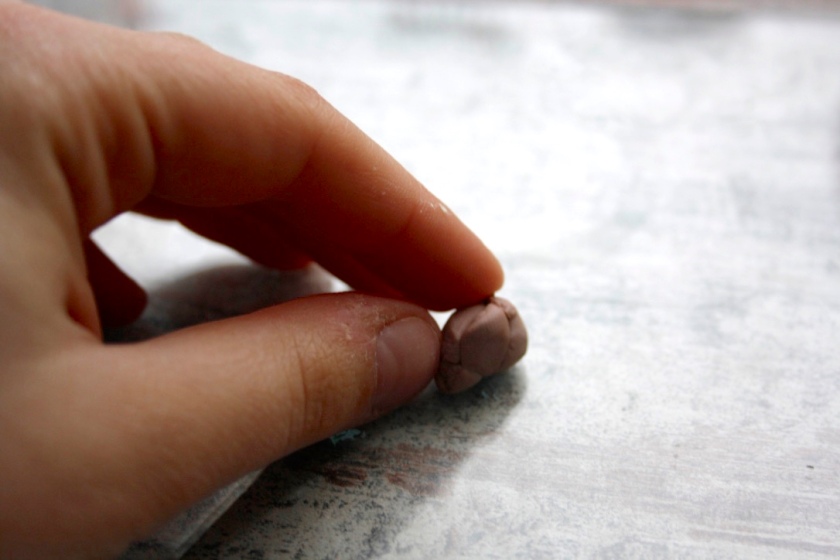
thumb__MG_8284_1024

Since it need to fit the base, eye-measure if the size of your clay seems ok :
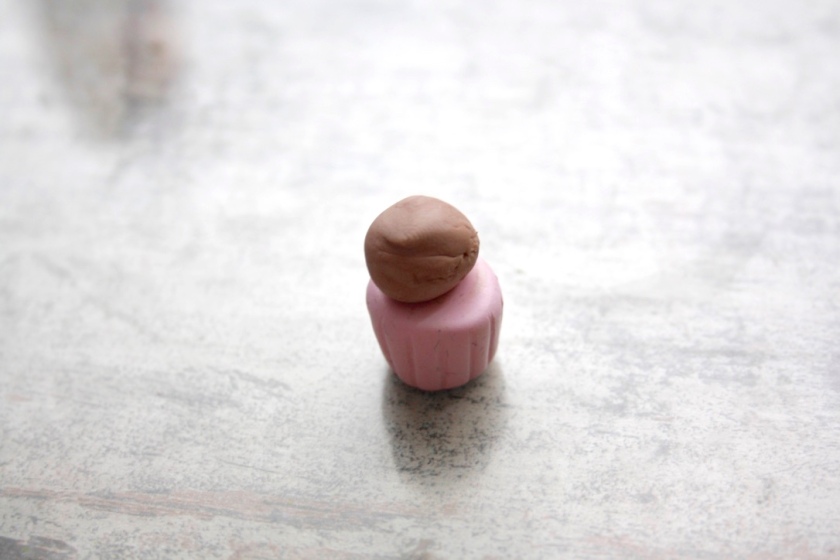
thumb__MG_8285_1024

Than flatten out the ends to make a hill-shape :
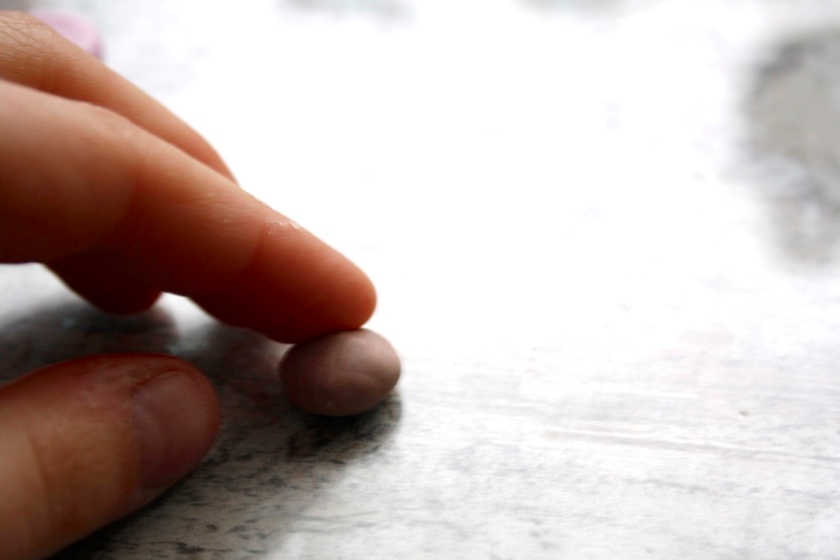
thumb__MG_8286_1024

Size check again just to me sure !!

thumb__MG_8287_1024

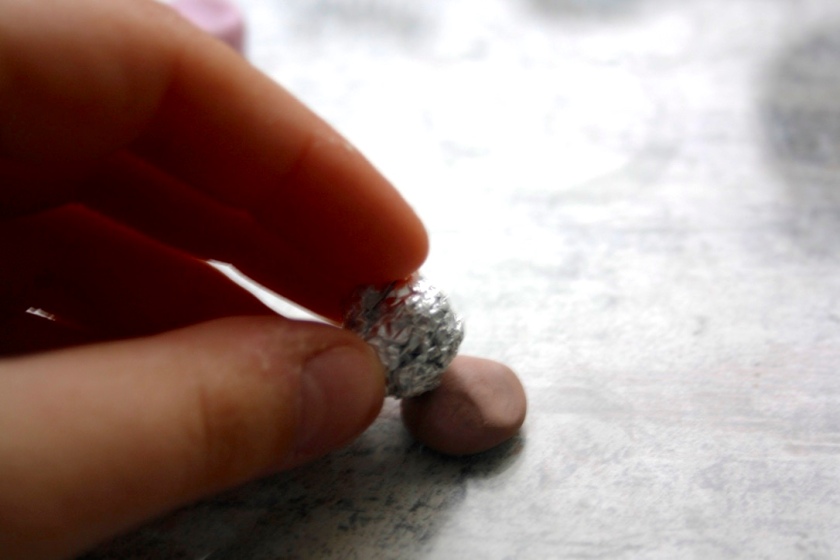
You can see that the „hill“ doesn’t line up with the base, but thats ok , because in the next step, you will take a bit of rolled up aluminium-foil, and structure the hill :
thumb__MG_8288_1024

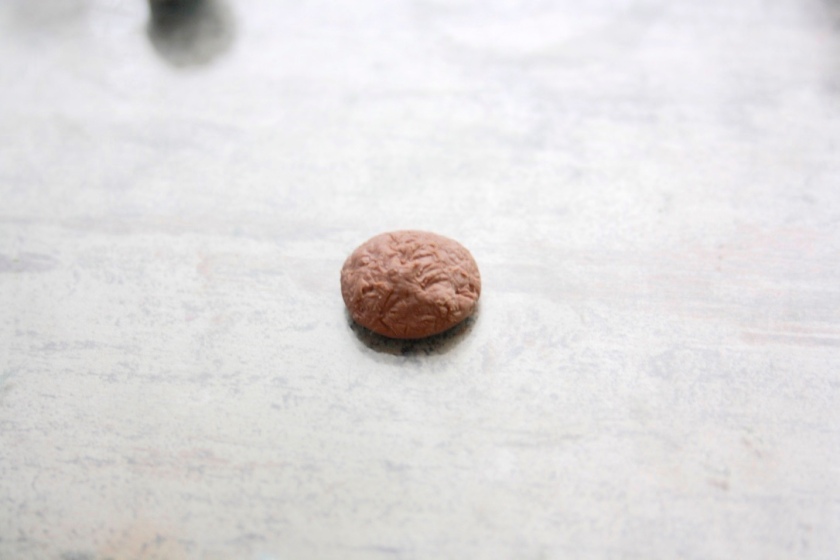
It should look something like this. If you want more structure you could use your tooth pick to add more. just make sure you use the other side or a new one, sometimes the color rubs off.
thumb__MG_8292_1024

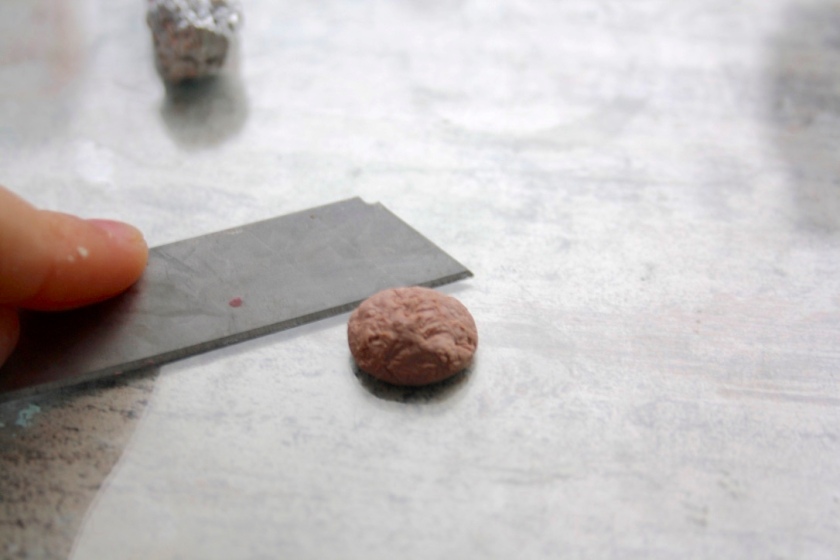
Than pick it up. Mine got stuck to the glass I work on, so I used a knive, But if you’re to young you can use a piece of paper, or asked an older person

(not your mother though)
thumb__MG_8293_1024

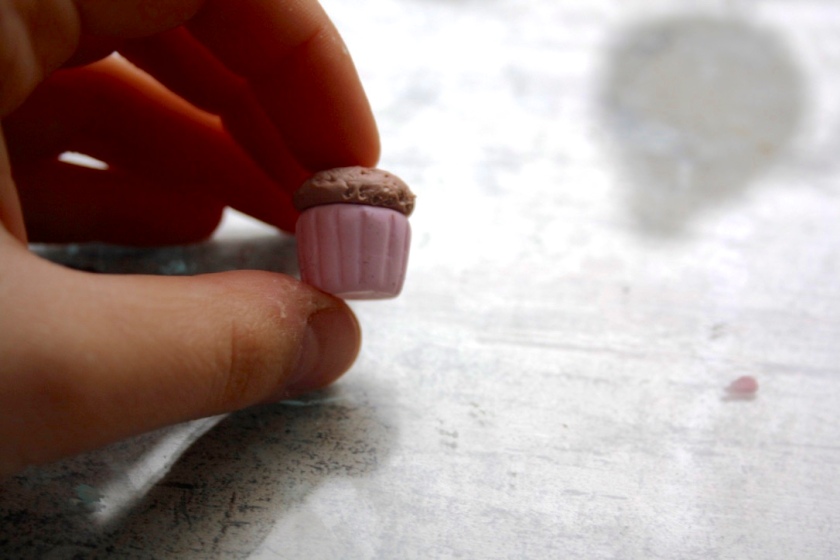
As you can see it now fits perfectly ! 🙂
thumb__MG_8294_1024

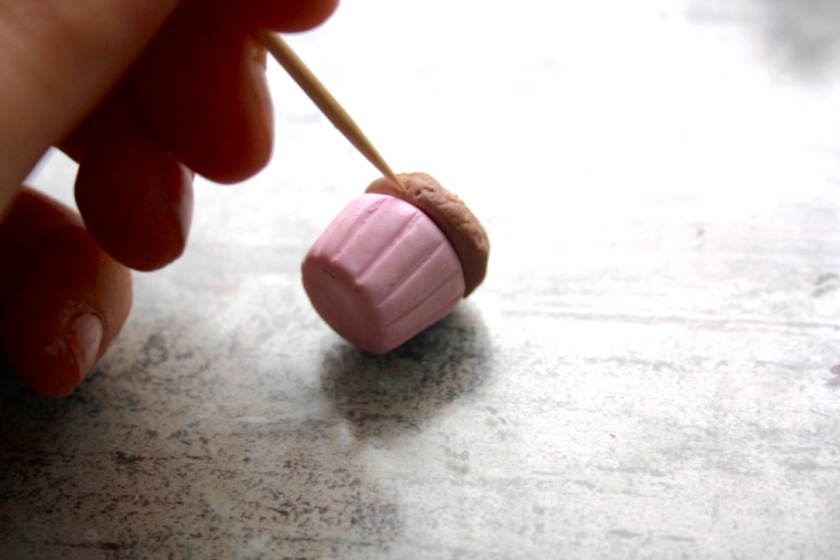
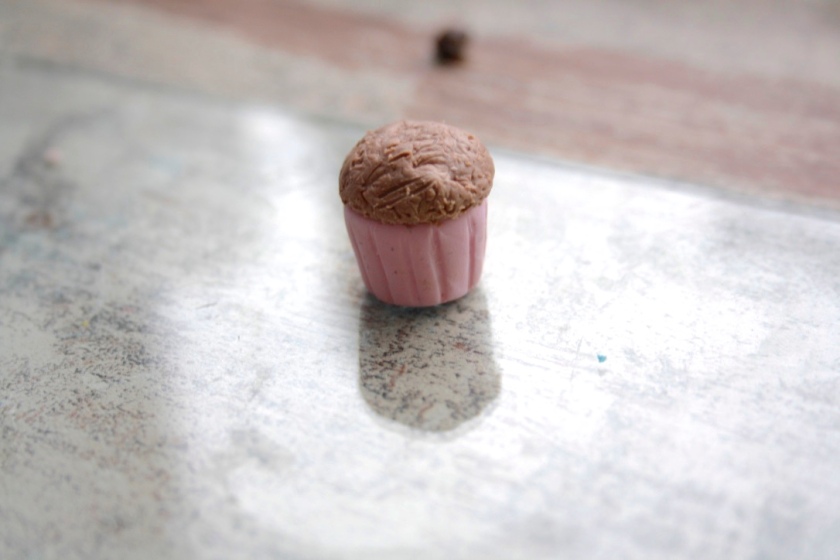
I used the tooth pick again to structure the bottom/edge more, as I didn’t reach it with my alu-foil.
thumb__MG_8295_1024

thumb__MG_8296_1024

Now onto the frosting !!!

thumb__MG_8297_1024

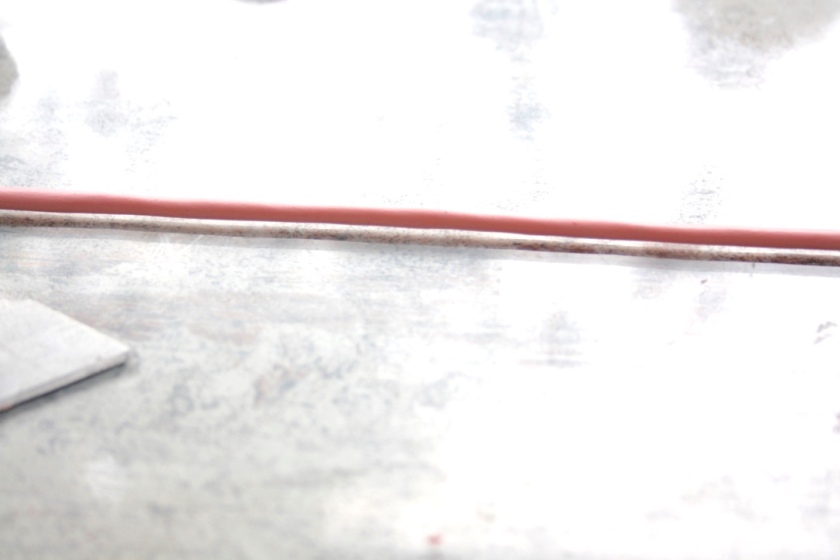
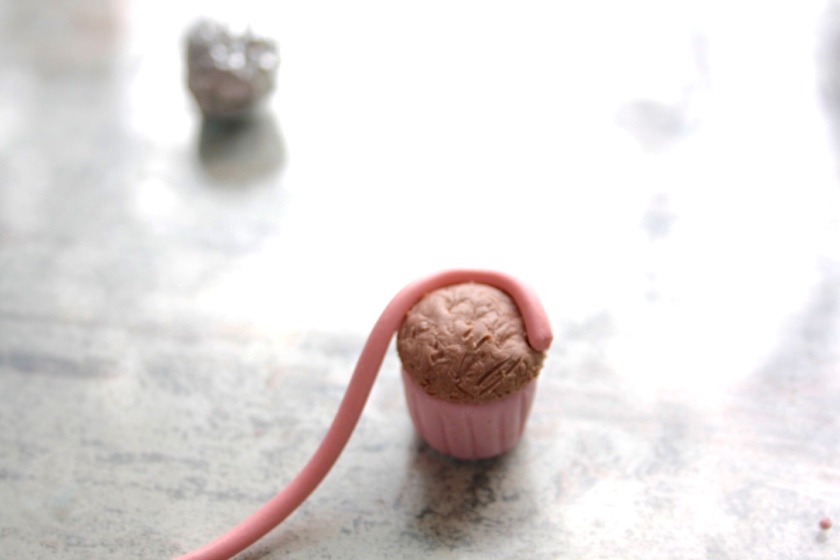
Make a roll !

thumb__MG_8302_1024

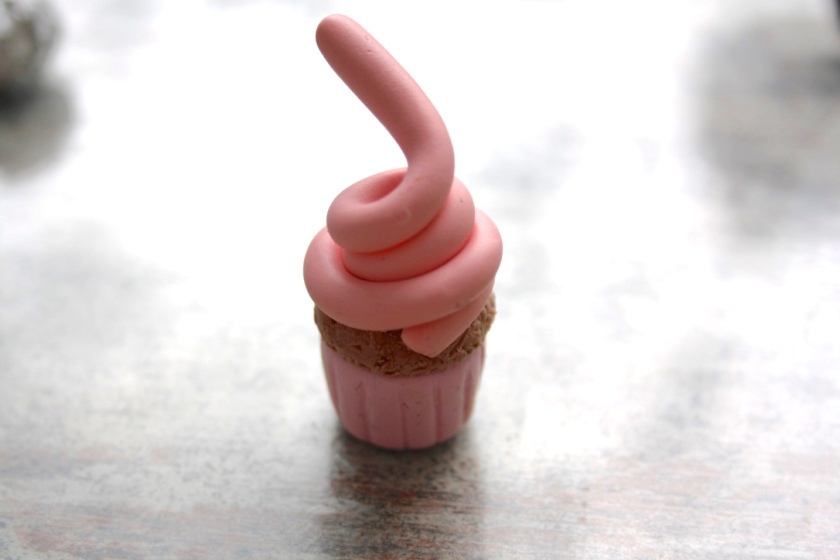
Then make a snail-house on top of your hill _
thumb__MG_8303_1024

thumb__MG_8304_1024

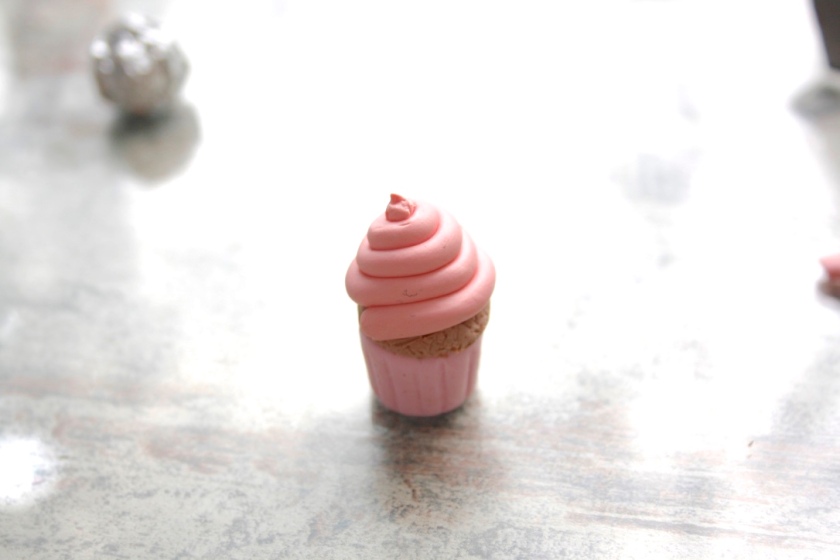
I noticed that my roll was to thin, so I made it again but bigger. But do what you prefer.
thumb__MG_8305_1024

Nearly finished ! Just add a cherry on top ! (Maybe) If you want to make your piece into a charm add an eye pin now !
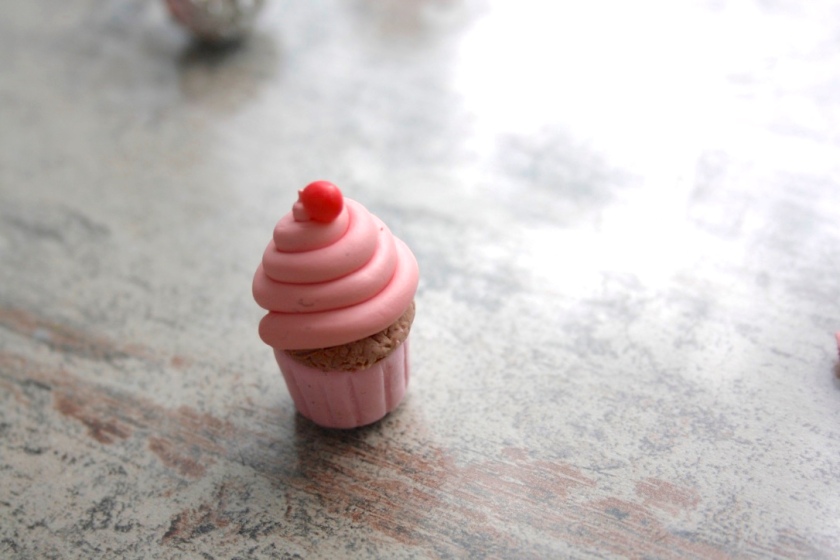
thumb__MG_8307_1024

Now you have to bake it for 30 minutes with 110°C ! You can notice in my pictures that there is quite a bit of dirt, I will show you how to get rid of that after baking ! While it’s baking please finish reading this! It is important that you  don’t let your clay piece cool down completely after baking.

After baking your creation should look the same :D. If you want to make magnets follow my lead 😀
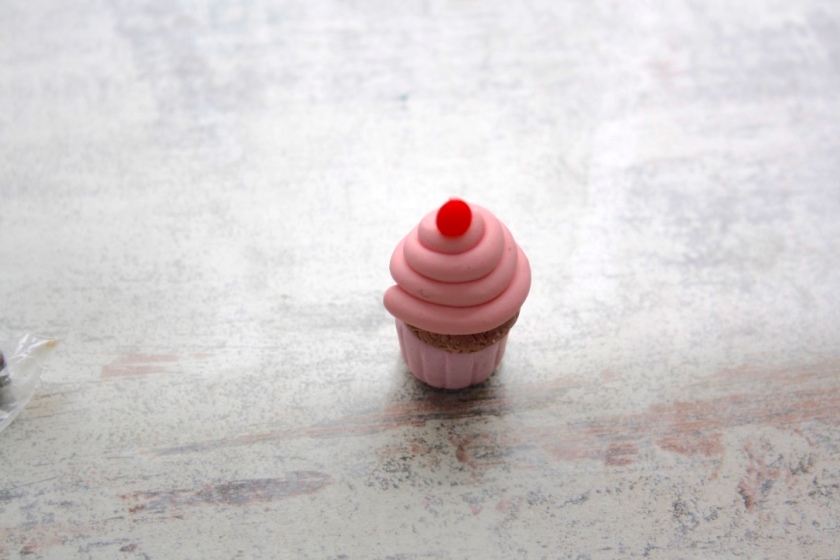
thumb__MG_8337_1024

Take your clay out of the oven, but be careful it will be hot!

After a few seconds it will cool down and you can take it in your hand to cut it ! It should still be warm if you cut it ! That way it’s easier ! If you’re not old enough to use knifes , you can ask an older person. Again don’t asked your mom 😀 .
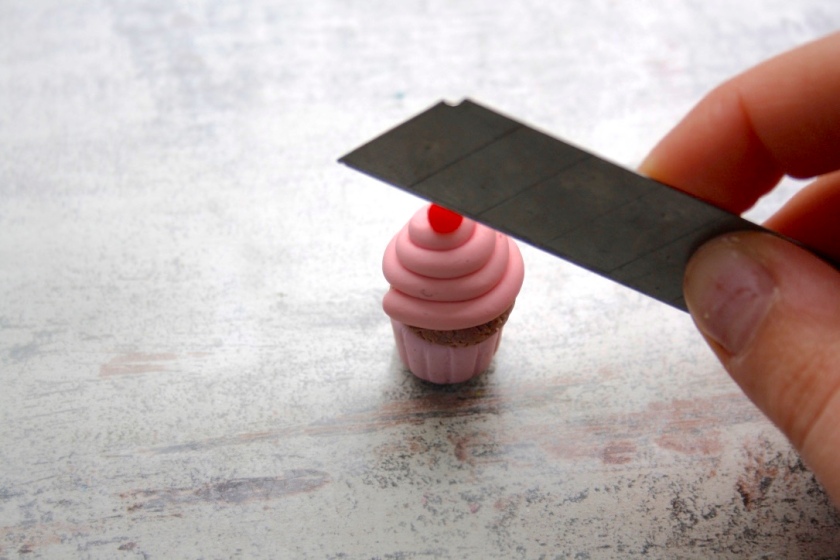
thumb__MG_8338_1024

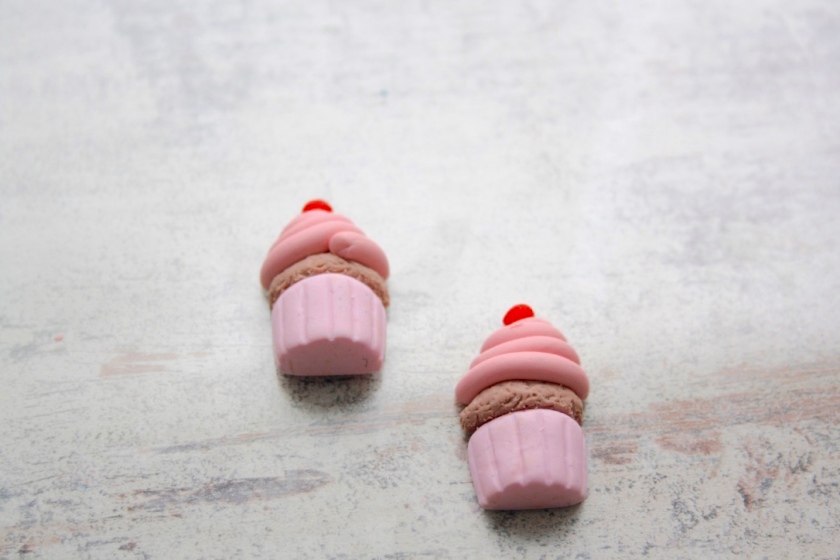
Now you have two cupcakes ! MAGIC

thumb__MG_8339_1024

Now you can add the magnets. Use any you have at home or you can buy them at the shop.
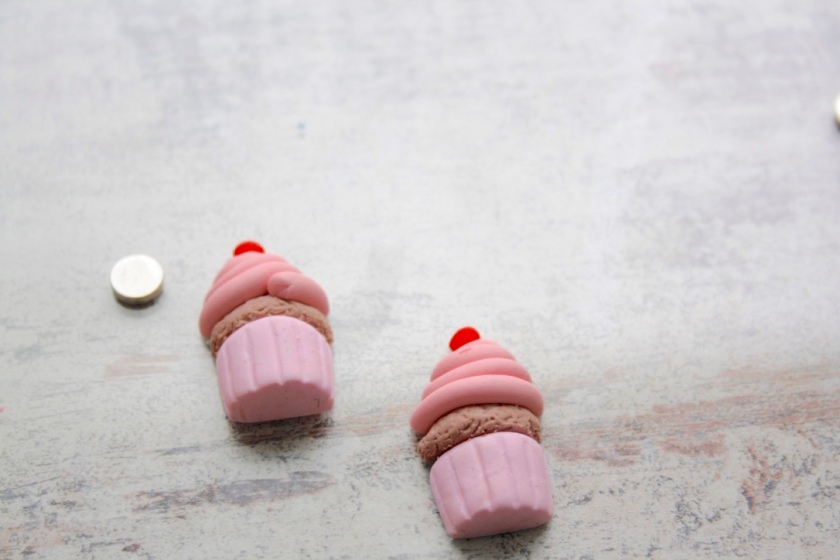
thumb__MG_8340_1024

Mine are from amazon if you’re wondering.

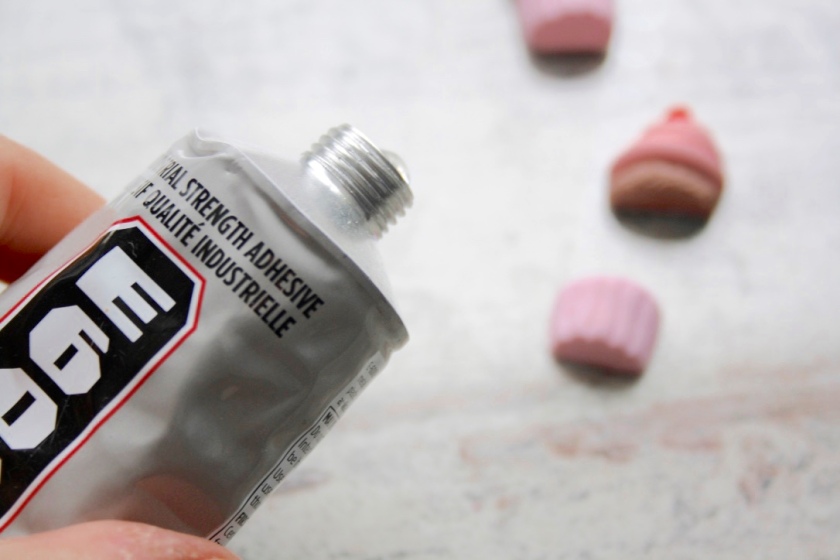
No to the glue. I use special glue, but you can totally use super glue.

Depending on your age, please asked someone to help you. You don’t want to glue your fingers together, that wouldn’t be a nice surprise for your mother 😀
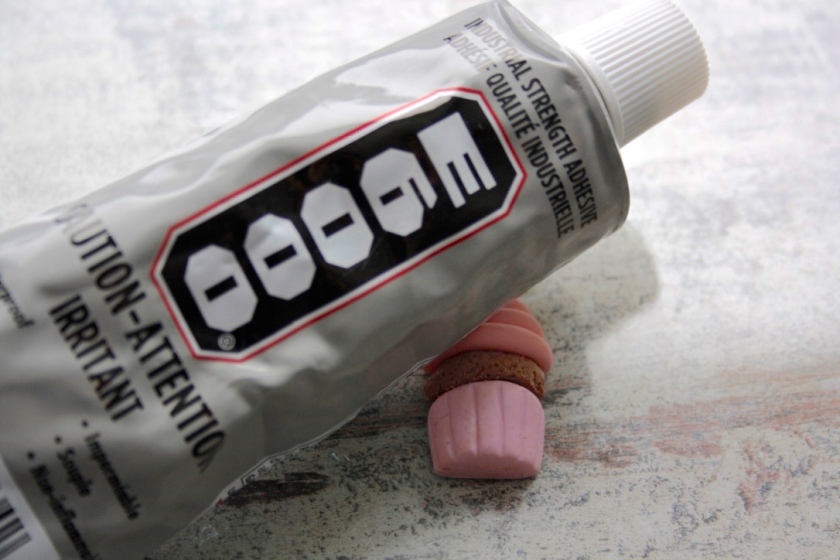
thumb__MG_8341_1024

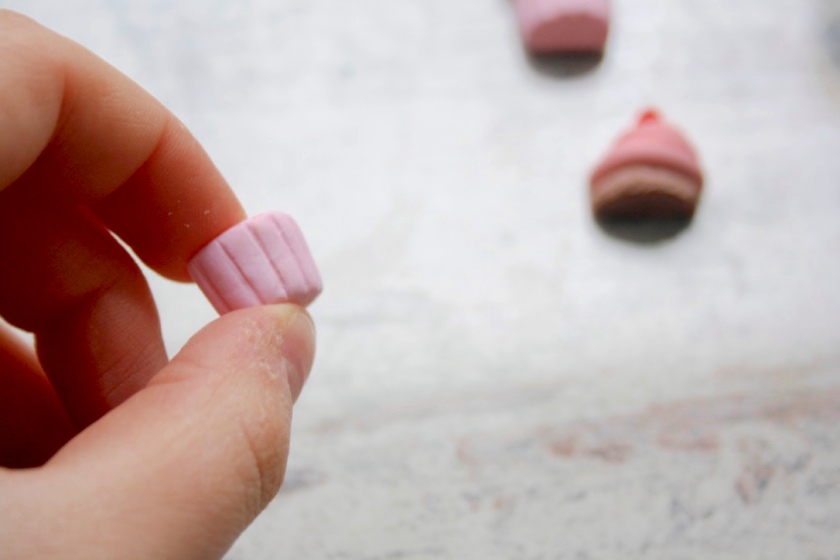
Before glueing I cleaned my pieces but thats up to you.

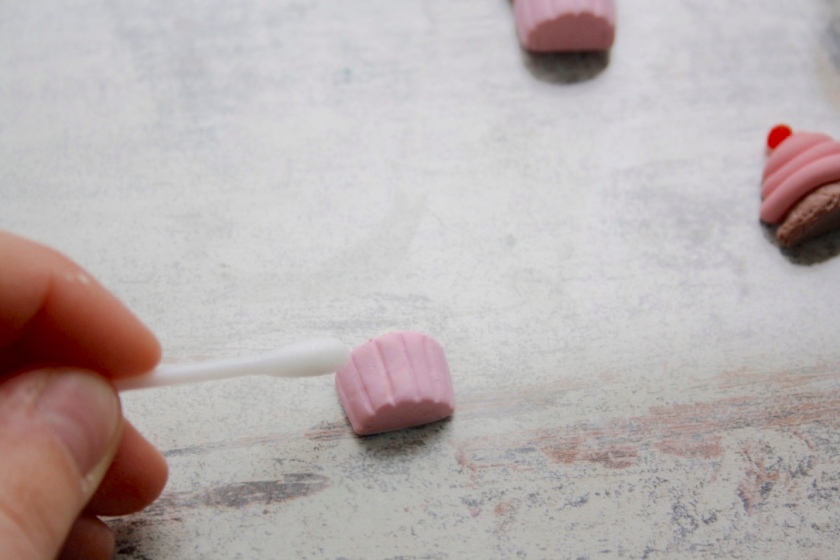
You can either use an exacto-knife or, what I recommend for safety reason, is nail polish remover!  Just wet a q-tip with it and then go over the dirt, it should remove it, if it’s not to bad.
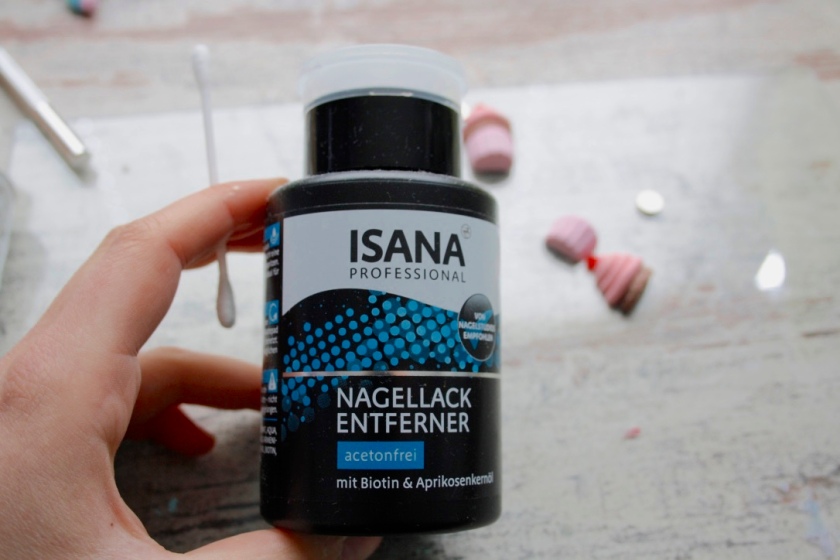
thumb__MG_8342_1024

thumb__MG_8343_1024

Perfect. !

thumb__MG_8344_1024

Now to the glueing part.

thumb__MG_8345_1024

Also, I broke one of my pieces, but you can super glue that, so don’t worry !
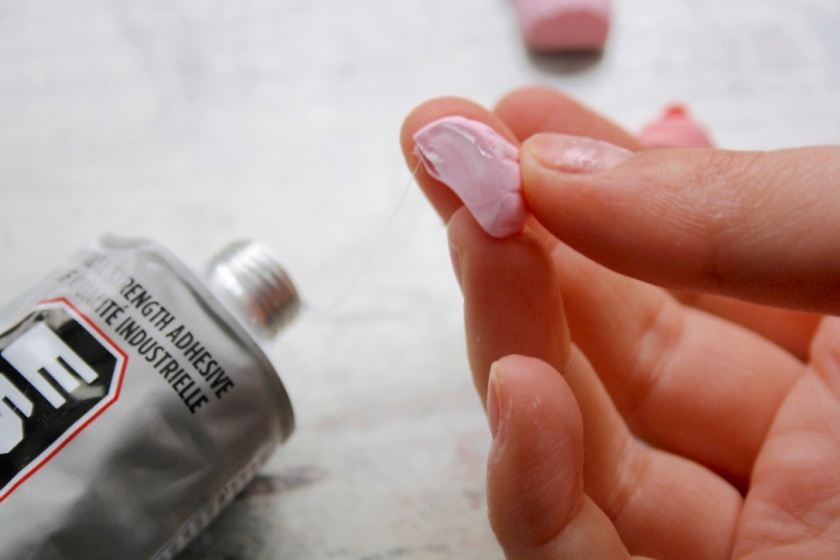
thumb__MG_8346_1024

Fixed !

thumb__MG_8347_1024

Than I glued the magnets on. ! I recommend putting the glue on the surface thats bigger, so you definitely don’t glue your fingers ! For me it was the cupcake.
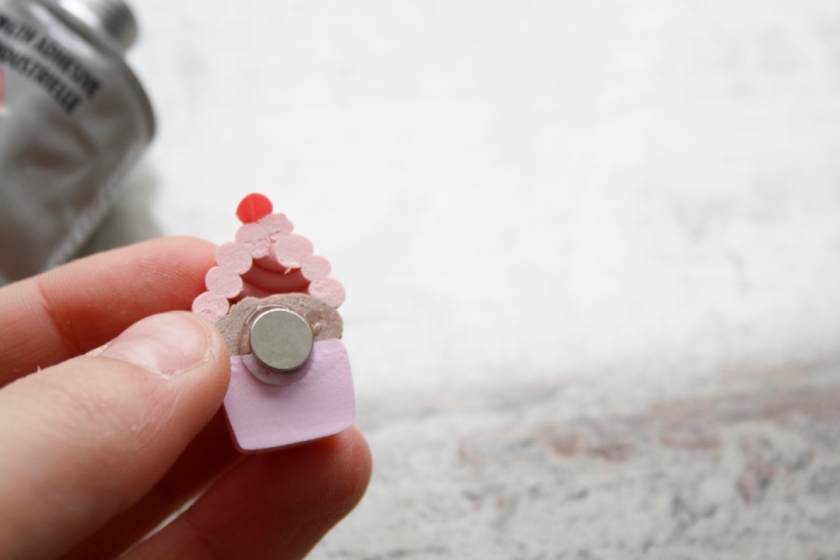
thumb__MG_8349_1024

After you’ve let it dried completely you can glaze it ! if you have Fimo-glaze use that one, and if you haven’t got that you can use clear nail polish !
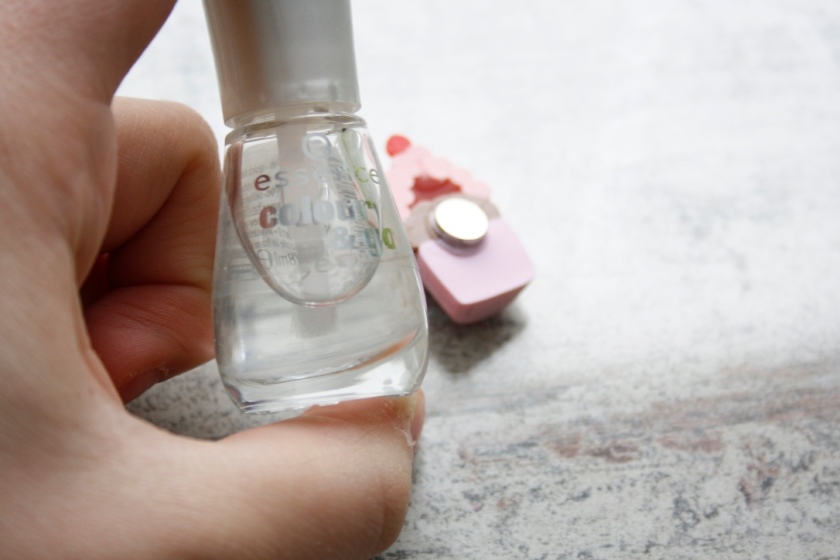
thumb__MG_8350_1024

All finished ! Yay! ( I didn’t have much time when I did this, so there is still dirt on the left one.. whoops.)
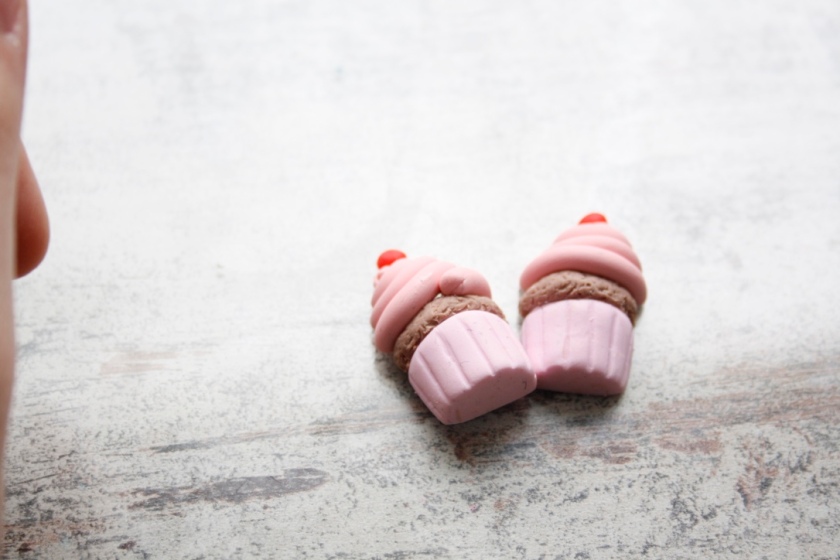
thumb__MG_8352_1024

I really hope that helped you out, if you forgot about mother’s day ( its on the 10th of May)

And even if you’re doing this for another occasion, I still hope you can surprise someone, ore yourself with your skills 🙂

∼Lola Who

P.S. : Here’s a picture of those super strong magnets ! WOW! also excuse my ugly ass thumb.

thumb__MG_8353_1024

..being unconcentrated..

Lola thinks about..

..and burning a day of work.

I’ve just come back from the Oberhausen ‚Kurz Film Tage‘ and even though I am tired as shit and uninspired as heck, I finished a work from last week.

And then I fucking burned it.

OMG.

A lot more mistakes (wrong wires) were made than just setting the temperature to 230 °C !!! But that definitely played into the whole burning process.

Since I’ve NEVER burned anything before I am rather shoked. Mainly because I also tried to make a doll for the first time (one that doesn’t move).

I am feeling sorry for her, because I made this mistake, so I will try to paint her with acrylics to make her look better. I won’t give her up. She has been soo much work !

But yeah.

I will post updates of how much of her I will be able to save, but for today I just wanted to remind you of setting the right temperature! And when in doubt use an oven thermometer. And use correct wires. Those damn wires seem to ruin everything for me.

JC.

Okay this was just a little rant-update.

I don’t really think this was helpful, so…

here’s a link to a short-film by Erkka Nissinen that I saw at the film festival which made me go WTF. People were leaving the theater after this film. Warning though. Highly disturbing if you’re not used to finding crazy shit on the webz.

Another film that I actually recommend would be TEENLAND  . One of my highlights this weekend. And more tame! Watch it if you ever get the chance to !

Least favorite thing must’ve been the 2nd winner of the music video award.  Basically just a flimmering screen in black and white. Also I managed to fall a sleep during it. My problem with this is the comparison to other nominees who were definitely (more) amazing!

Okay that’s all I have to say for this weeks Lola thinks..

See ya soon.

Also please like and comment ! I’d love to interact !

∼Lola Who

p.s. we. are. the. flowers.

..on the month full of films…

Lola looks back...

My April was so fast, I can’t even believe it’s already May.

When you’re reading this I will be attending the Oberhausen Short Film Festival. So many films to watch!

I hope I will have a good time there 🙂

Films have been a huge thing for me lately. Mostly because I had to make one myself 😀 It was a great experience which taught me a lot about my own crafty/filmy abilities and I watched a lot of films to learn a bit more about technical things in this business.

I also got the chance to make a trailer for a Sci-Fi Festival which is happening in my University Town. If you want to watch it, here is the link.

I also will be going to this event, as I haven’t seen most of the films they will be showing. And I am pretty excited 😀 .

This month was a good month. I got into a certain rhythm (which i am destroying right now as it is nearly 1 am) and I started doing a lot of clay work again.

The past week has been an exception though as I did not clay a lot, and I haven’t uploaded any pictures to this blog :D.

But as I have mentioned on my last text-post ( i think) I have got a few new ideas lined up so stay tuned for that.

Well I hope you enjoyed this little update, and that your first weekend in may will be wonderful.

What was you favorite movie this month?

∼Lola Who

..Creativity and Fame (and the right reason?!)

Lola thinks about..

Today I want to talk about a topic that has been close to my heart for some while now, and even though I’ve been looking at it from different perspectives I am still confused. 

I have been active and inactive on Instagram and my follower count shows that.

So since I have decided to give all of this a second try, I looked more into the accounts of people of my community who have thousands of followers. 

Now let me say. The ones that have the biggest follower count are the most active and also the most hard working. Some of them put all of their heart and time into making their business grow. And some of them managed doing that in a really short amount of time. 

I can just assume how much money and where they spent that money to get enough recognition, but that is not really important for me. 

I am mostly wondering about people who have 2-4K Followers. 

For me that is a giant number. For you it might not be, but those people make good business with their account. 

Most of them are still in high school, and can use the money they make for their future, so what they’re gaining isn’t really a monthly income, more like big pocket money. 

But as some of them are still in high school, they’re still developing their skills, which can sometimes be underwhelming. So why do they have this follower count, when there are many people out there working harder and having more skills? People who decided to make polymer clay their job. And who don’t have the recognition they deserve.
NOTE: For me it’s still a hobby.
Personally I just want to make a enough money to live independently from my parents, which have to give me money even though I will have a job by next month and even though I am living in a student apartment, which are cheaper than normal apartments. 

So making a few extra bugs each month would really help me out, so for that I started looking into online shops again. 

If you’re thinking this is a shallow reason to start doing this again I must assume you’re still to young to live on your own. 

I have been going to fairs/shows to sell my jewelry for two years now, and had the most fun doing this, even though I rarely got the rent (for standing there) back. 

Displaying my Creations on the internet was more of a burden though. So I didn’t do that often. 

But now that I’ve given myself a purpose with this internet thing, and an actual schedule making me treat this hobby more like a job I am enjoying this ‚job‘ quite a lot. 

My ideas which had been buried under self-consciousness the past year have come back, as I am thinking what can I do to pop out between all the other talented people. 

Coming up with new ideas every week gives me extreme creativity flows which haven’t turned into rivers, but who knows that might happen. 

Sometimes doing things just for the fun of it doesn’t get you were you want to be. 

But sometimes doing it to stand on your own feet, or to stand out from the crowd, or to be famous can give you enough purpose to actually find the (long lost) fun (again). 

I am happy with my decision and willing to keep going until I am where I want to be. I want to inspire and I want to live happy with my work. 

And I am onto the second point already.

And even though I still don’t understand what makes people more famous than others that might be even better, I will work on myself and do what I can to reach my goals instead of envying others. 

Creativity and the life of Artists is full of rivalry and sadly not romantic at all. Doing things for ‚good‘ reasons might not satisfy you and that is totally o-k-a-y! Give yourself a reason that gets you going and start. And if that is to ‚become crazy internet-famous‘ as the lovely Ben Cook says, than do so. But please don’t forget to be kind to people on your journey because you can’t make it on your own. Sometimes everybody needs help. 

If this text-post helped you in any way ( i hope) please let me know and share my work with friends ! It would really really really lik-e help me!

And if you have had doubts about your reasons to begin with something, fucking start doing what you want to get where you want to be ! 

Lots of love !

∼Lola Who

…on a sunny week in April…

Lola looks back...

..in which she did all things in a new way.

This week I created quite a few things, and I made an effort to properly take care of all my social media accounts that are associated with Lola Who/ LolaWhoCharms.

My journey to success and great content will be a long one, but I am working on new ideas !

So far I’ve decided to post on this blog three times a week, under the categories : Lola thinks..; Tutorials and Lola looks back..

In the first one I will talk about my thought on techniques, products or new news in the polymer clay community.

In the second one I will show a simple tutorial.

And in the last one ( which is this one right now) I a, going to look back on something.

If you have ideas or tips for any of these topics please let me know ! I would love to hear your thoughts !

But for today we will look back on my past week:

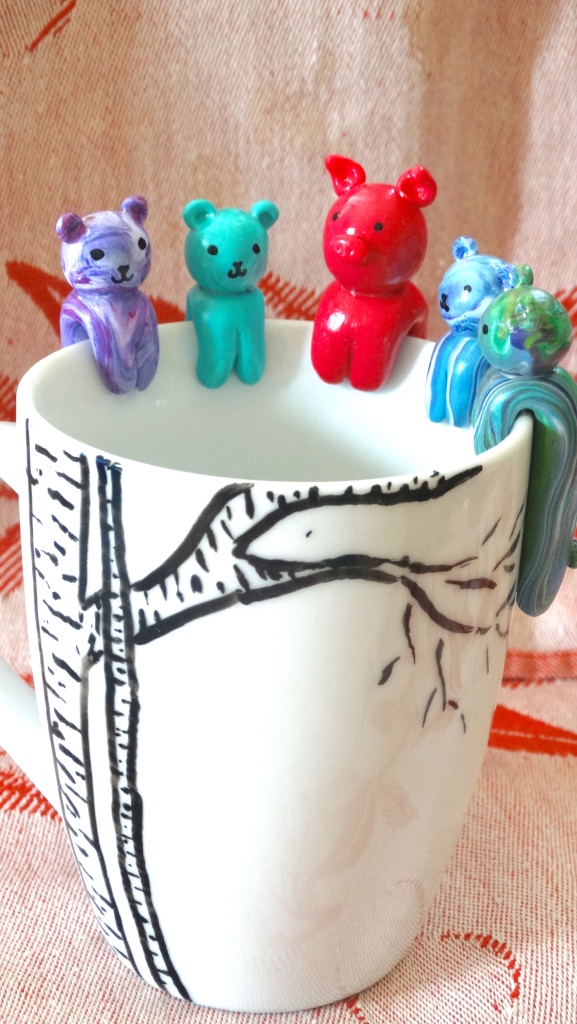
I went home this weekend and created some new Tea-Bag-Buddies for the shop in Berlin  where you can find some of my creations! If you ever have the chance to stay in Berlin please check it out !

DSC04059

Those are my friends of the week, I made a few more, but I didn’t have time to take pictures on till now.

Also in this week I started doing more decoden again !

I actually started last week, but this week was big for me !

_MG_8186

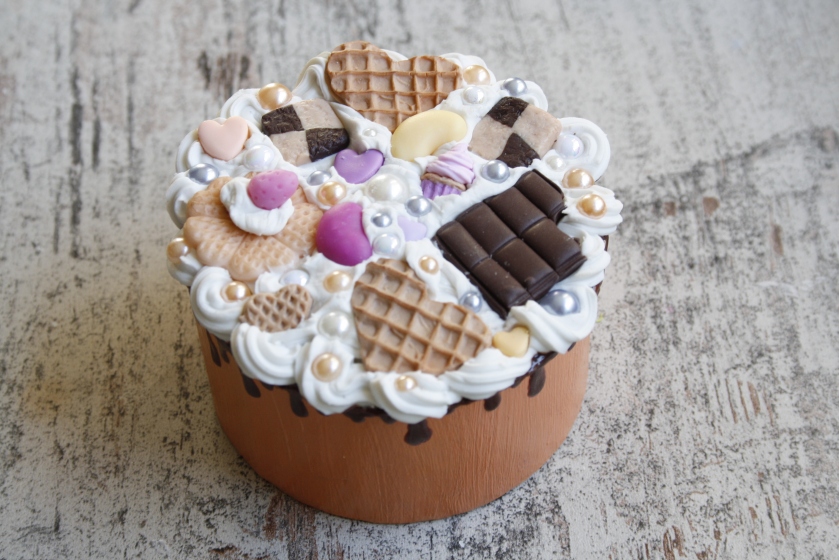
I made four boxes that will appear on my etsy by next week !

So stay tuned if you are interested ! This orange beauty is already available !

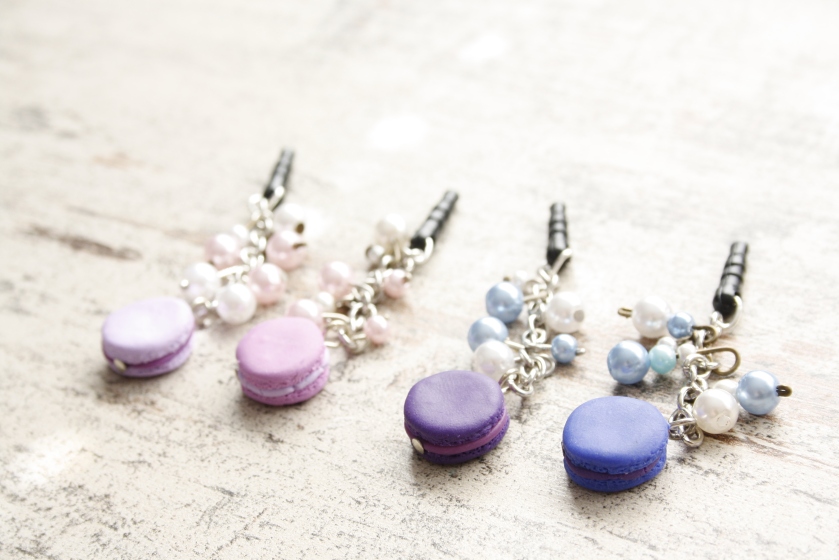
Next on I made some phone accessories which where waiting so long to be finally finished !

I hope you like these ! I enjoy them a lot !

_MG_8223

The colors are all lilac, but if you are interested in other ones please contact me ! You can finde these one here !

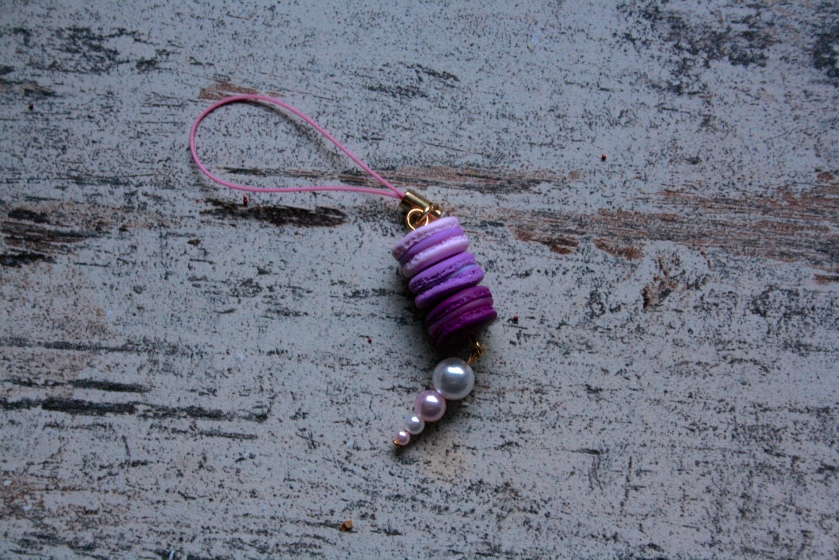
Before that I finished those accessories that can also be put on your phone !

_MG_8175

I made quite a few ! You can finde more here !

DSC04065

Here is another friendly face of a TBB ! I think I will also put them on etsy, to see how they will do !

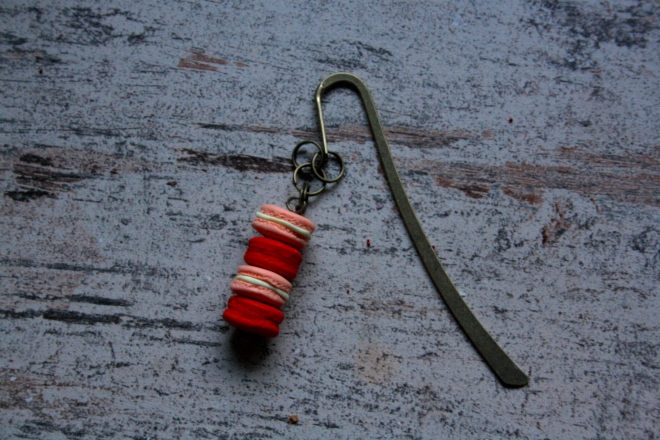
I also finally got around to use this book mark which I had saved for soo long !

I like how it turned out. 

_MG_8173

I chose the colours to match the bronze look. You can find it here if you’re interested !

I hope you enjoyed this look back on my week, and stay tuned for my upcoming projects !

∼Lola Who

That’s tutorially Bananas

Tutorials

G’day fellow crafters !

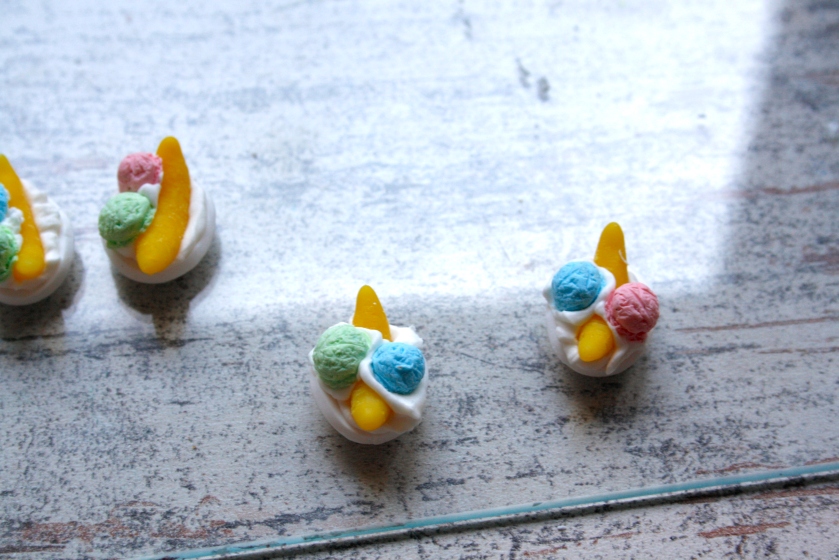
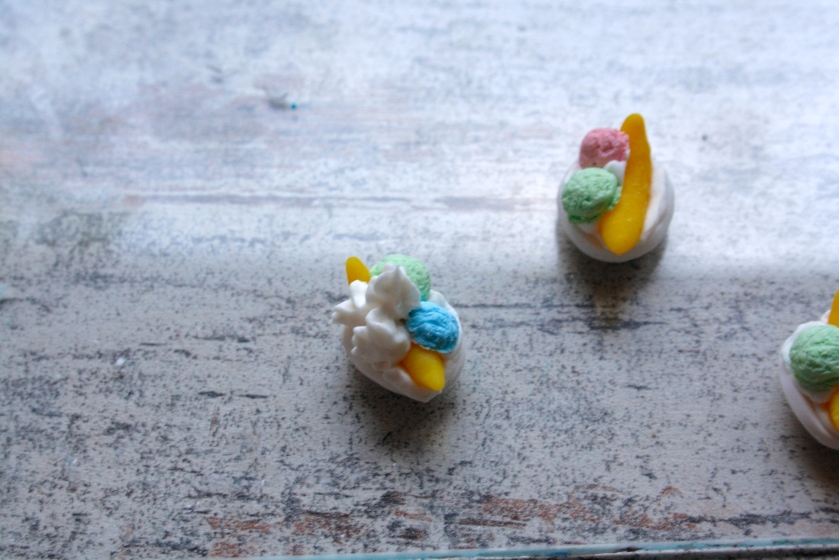
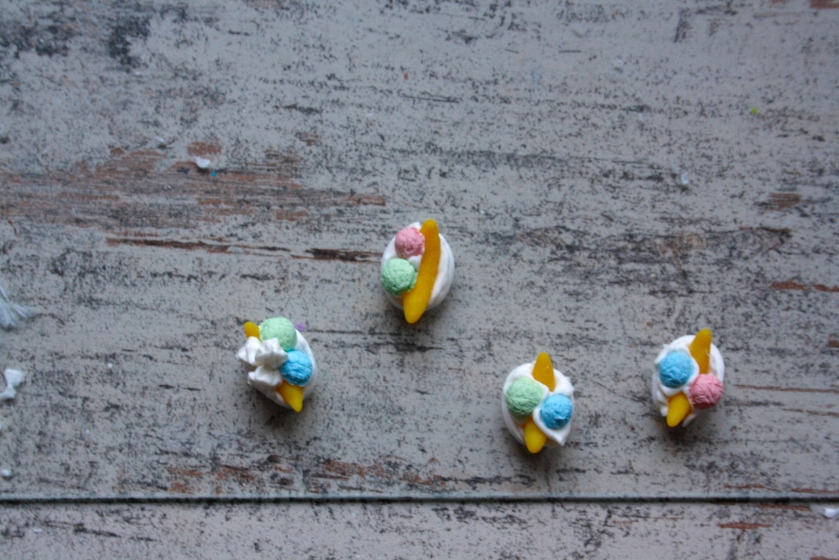
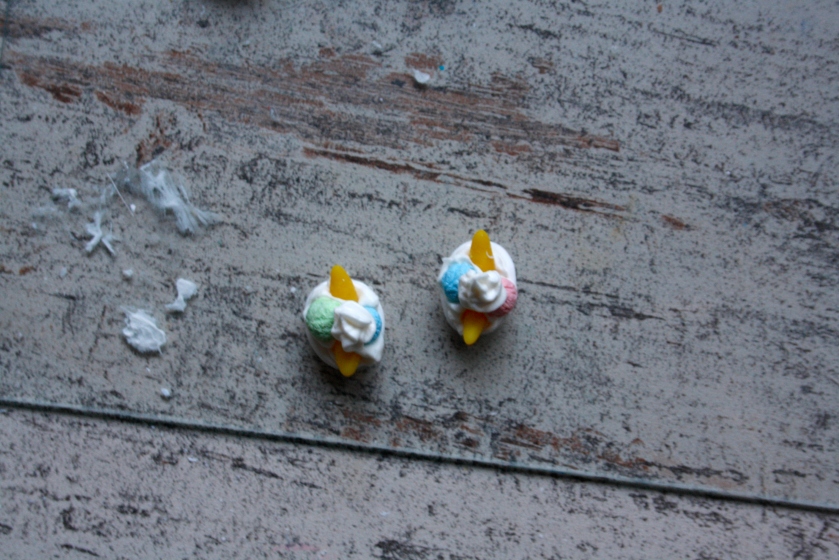
Today I will show you how to make super cute Banana-Splits!

DISCLAIMER: NOT FROM SCRATCH 

If you don’t have the parts to do this, you can either buy those online, or you can make them yourself with clay.

I might do a tutorial on making everything from scratch in the future.

You will need :

_MG_8112

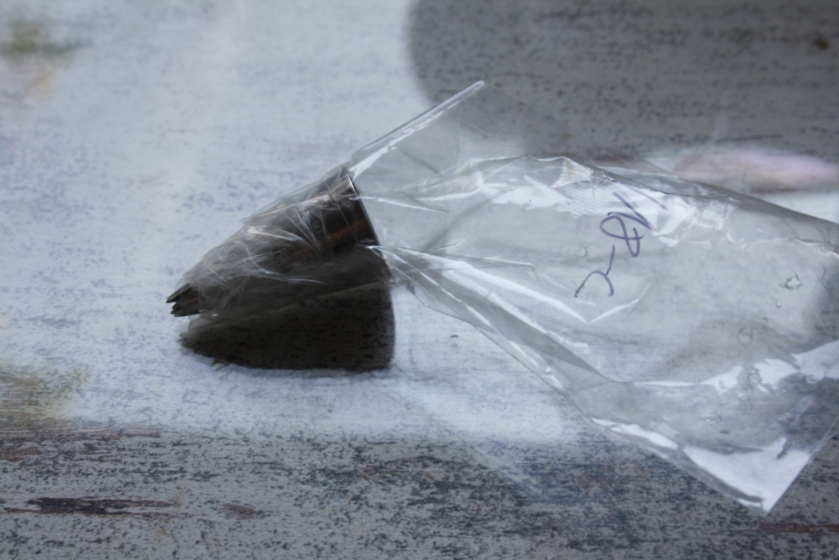
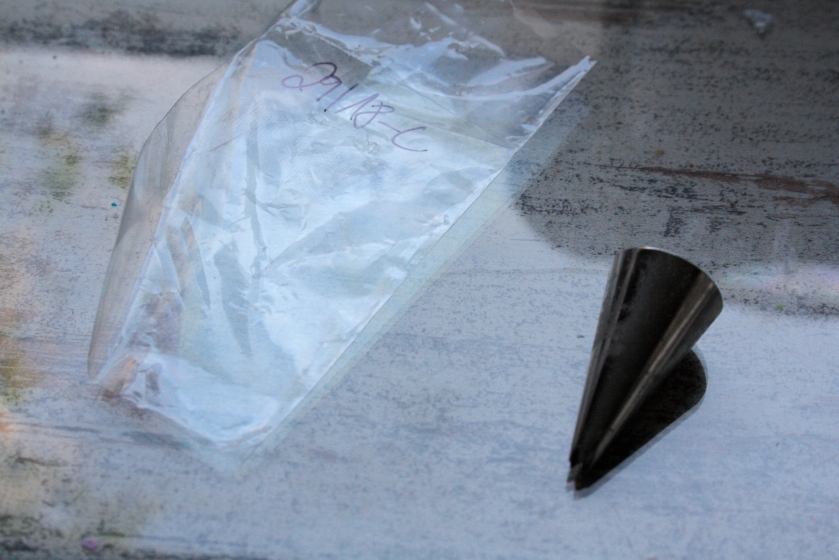
Tiny Pipe and plastic bag

_MG_8116

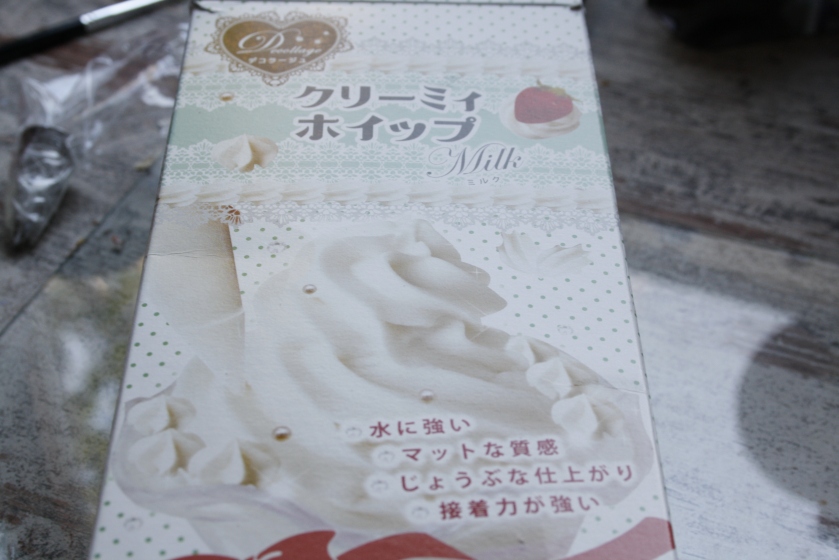
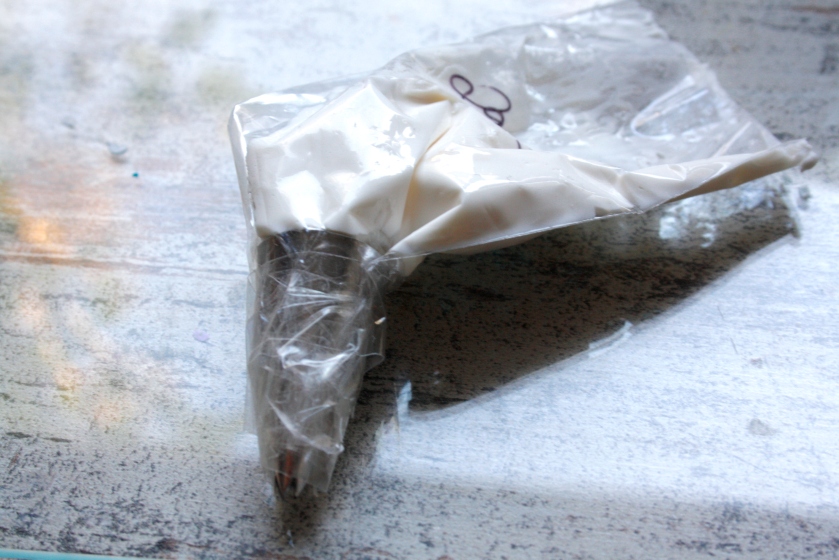
Some sort of cream. I use this, as it is really good.

_MG_8126

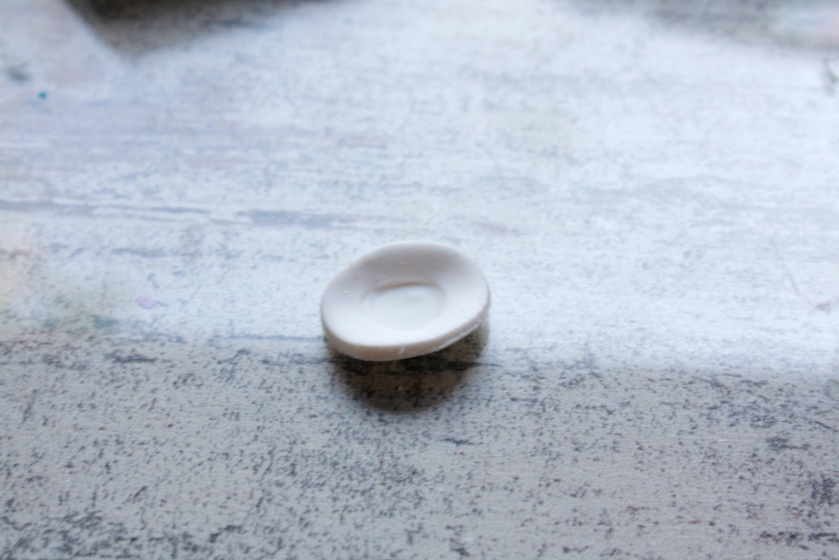
Some sort of plate, either buy one or make it.

_MG_8127

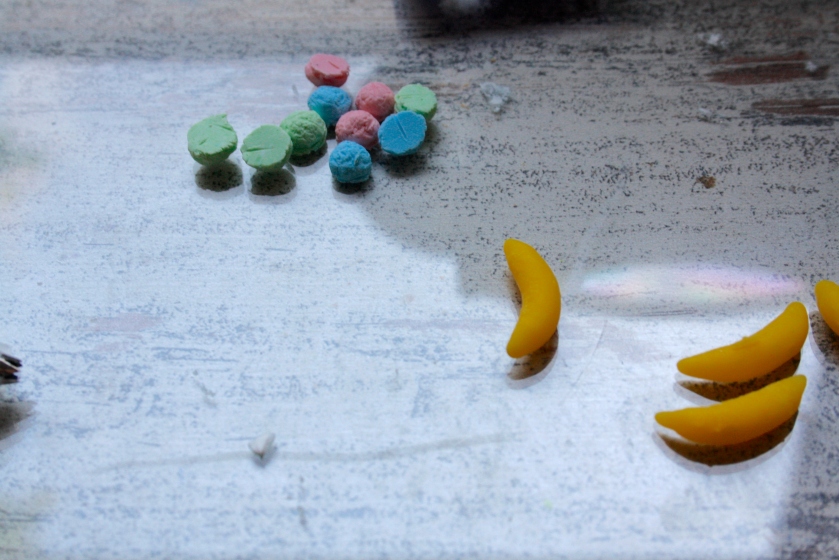
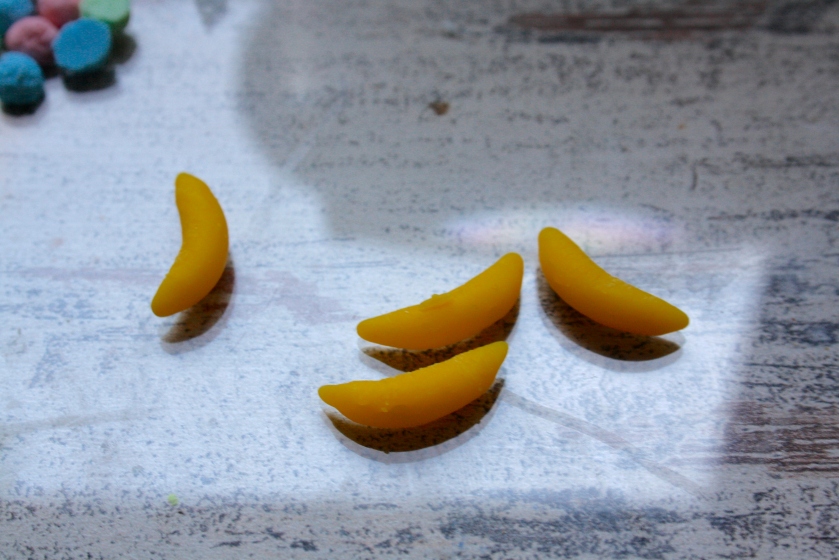
Bananas and ice-cream.


I understand that this might be diffcult to make if you’re a beginner so here is youtube-tutorial so you can see how to make the Ice-cream scoop. The banana on the other hand is quite simple, just try to make the shape, and then texture it by making some slight cuts into the clay with a tool.


_MG_8115


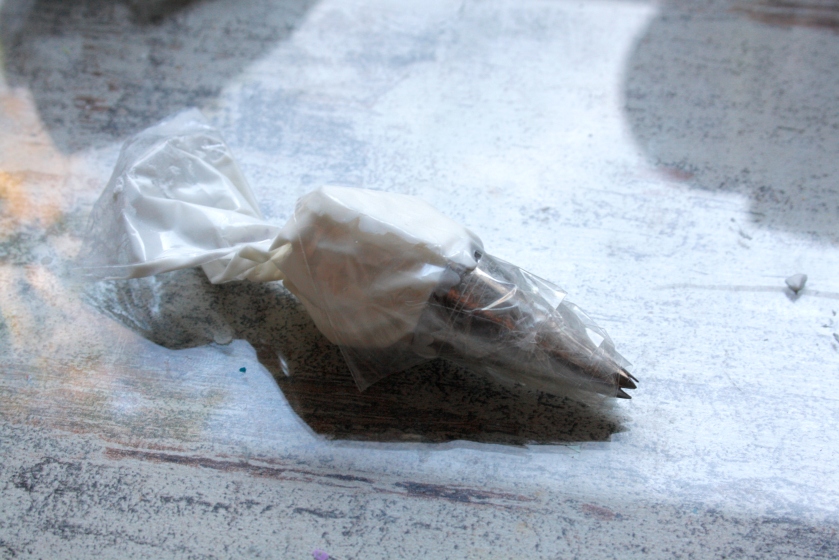
Begin by inserting the pipe in the bag. Make sure to cut a hole into one edge of the bag before.


_MG_8117


Secure with scotch tape !


_MG_8125


Role the end of the bag like this so nothing can run out !
_MG_8128


Here is another close up of the bananas.


_MG_8129


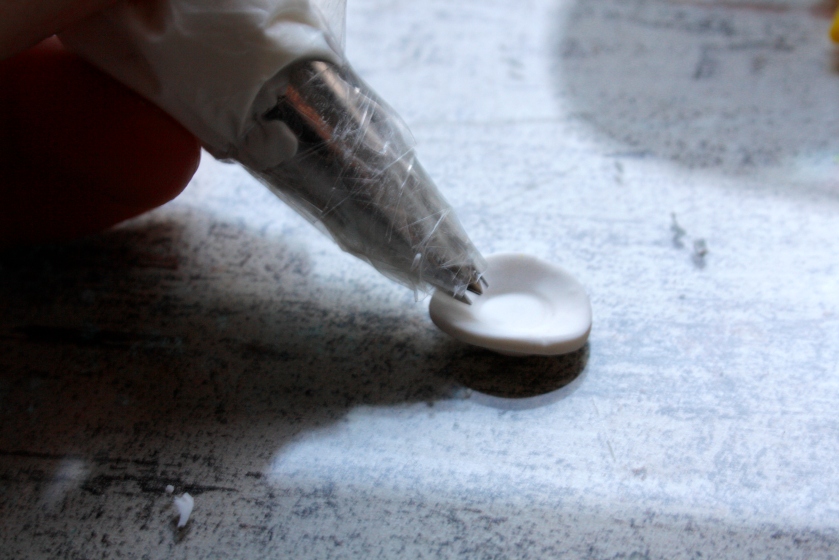
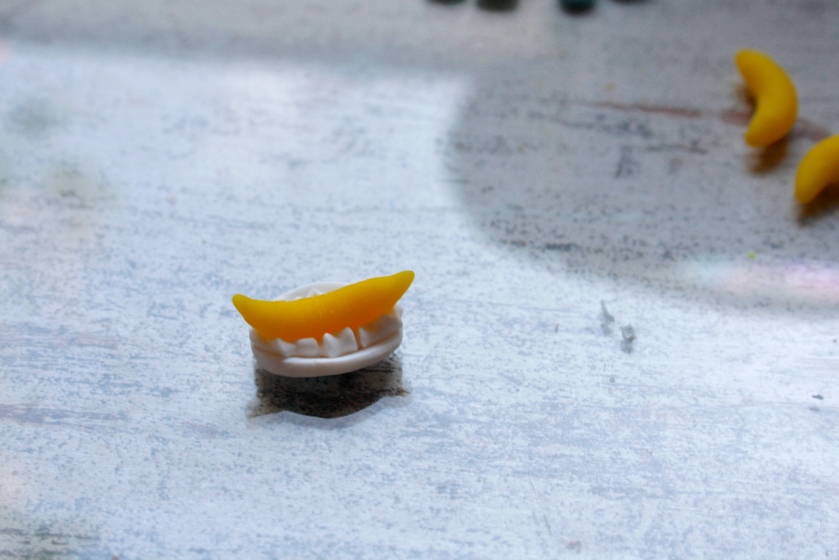
Pipe the cream onto the plate in the little ‚cream dots‘


_MG_8133

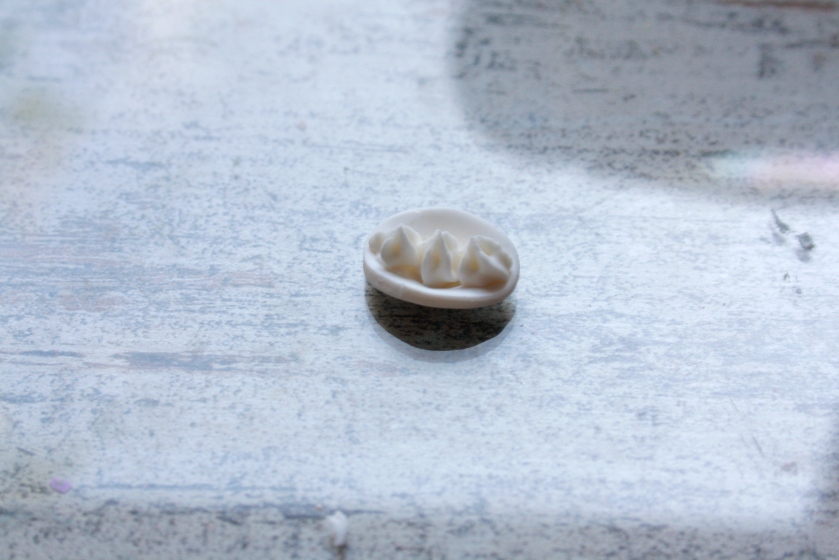
Like this !

_MG_8135

Then put the Bananas on there ! When the Cream dries everything will be super strong !

_MG_8138

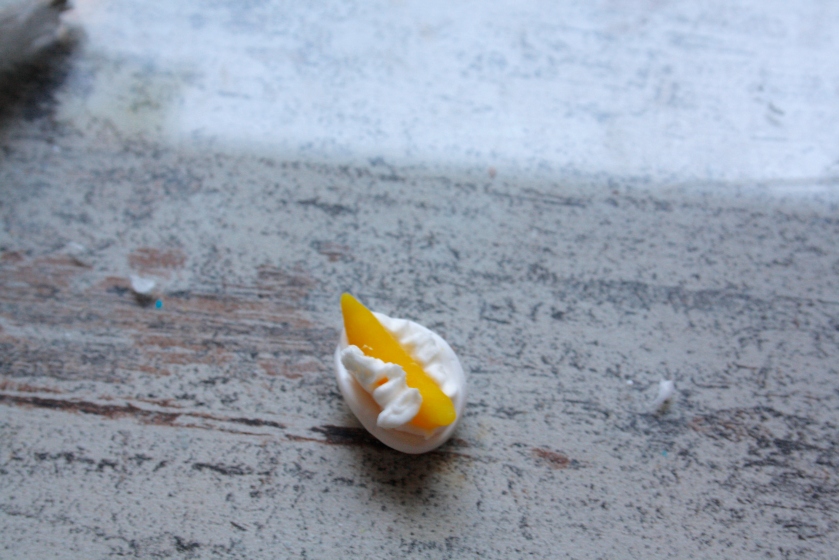
 Now add some cream to a side you prefer to put the ice cream scoops on.

_MG_8140

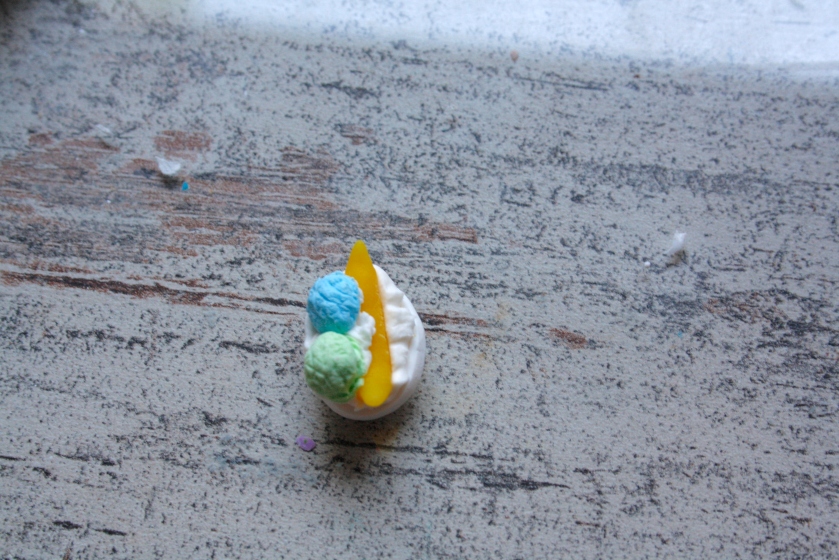
Choose a colour combination you like !


_MG_8143

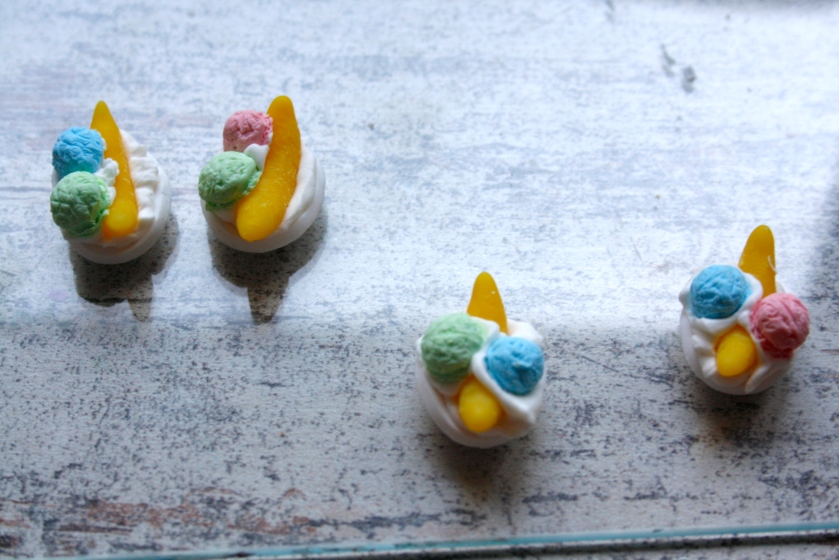
Here you can see that I chose to do different designs.

_MG_8145

_MG_8146

Then add more Cream, if you’d like.

_MG_8148

_MG_8149

_MG_8150

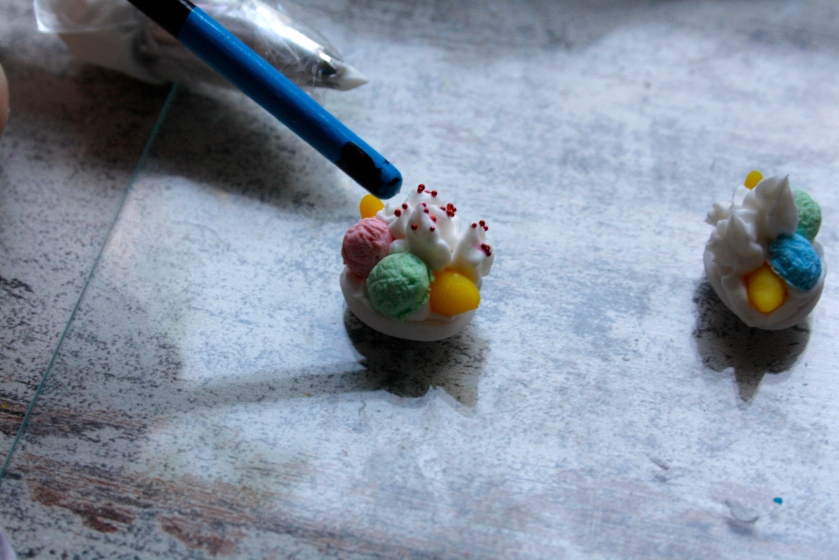
You can add sprinkles to your creation.

_MG_8151

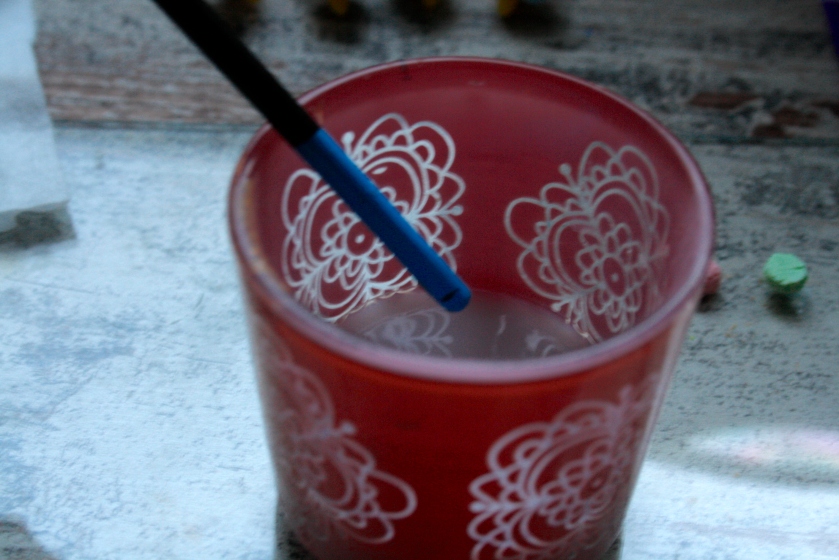
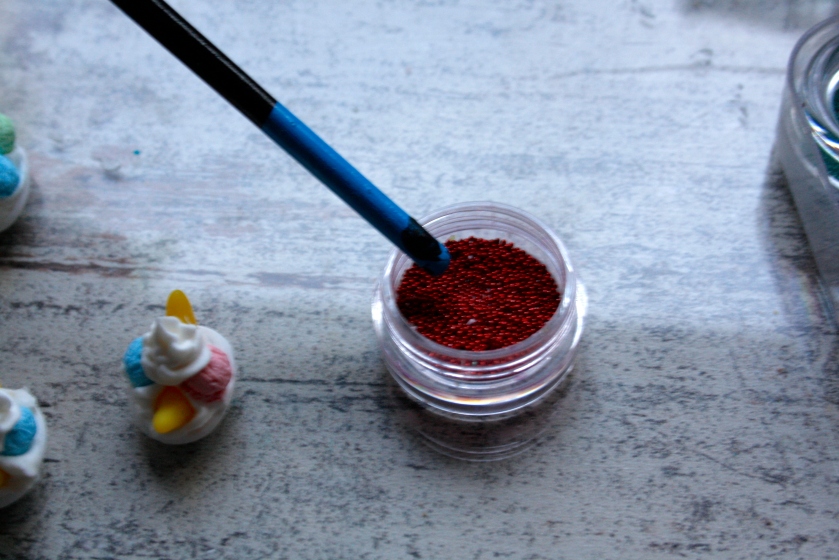
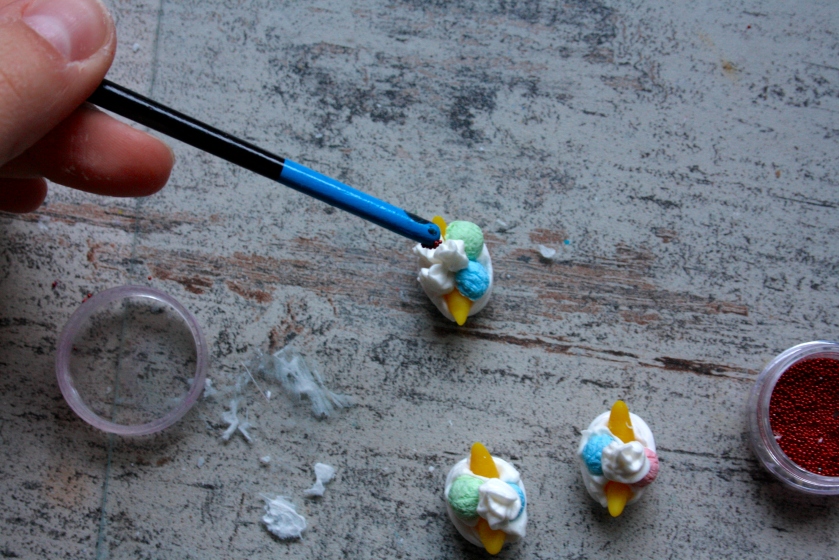
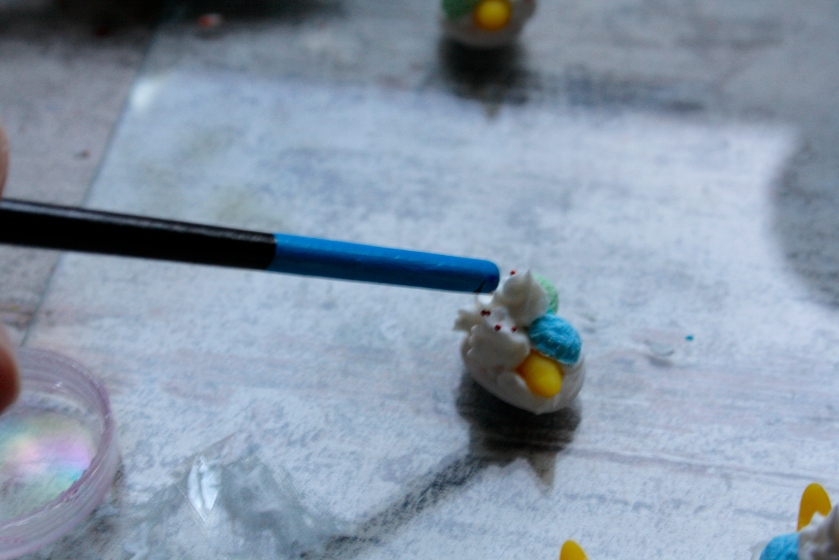
To put on the sprinkles I wet the end of a paint brush.

_MG_8152

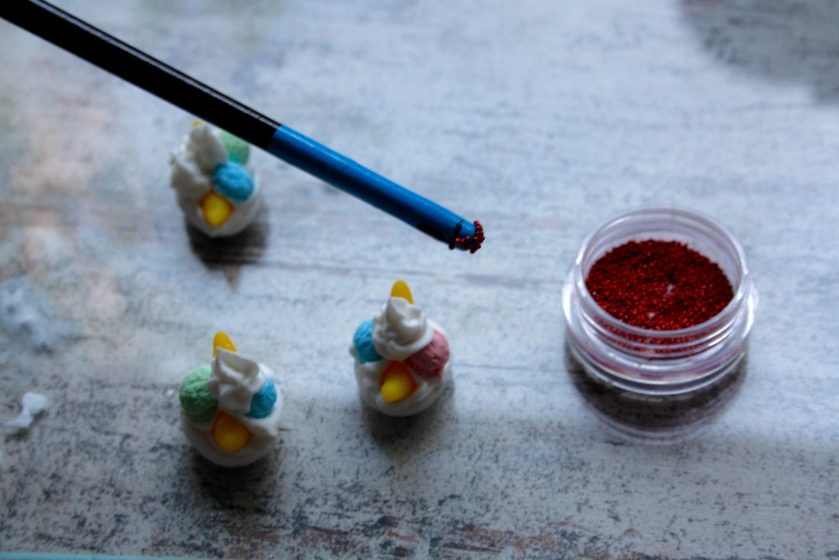
And then I dipped it into the micro pearls.

_MG_8157

_MG_8160

_MG_8161

The you can easily place it onto the cream without making a huge mess!

_MG_8162


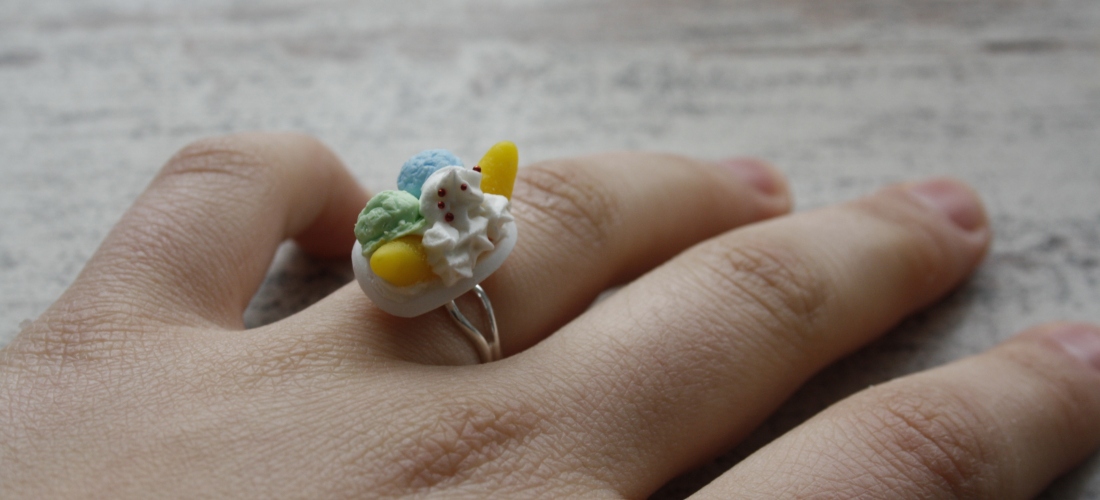
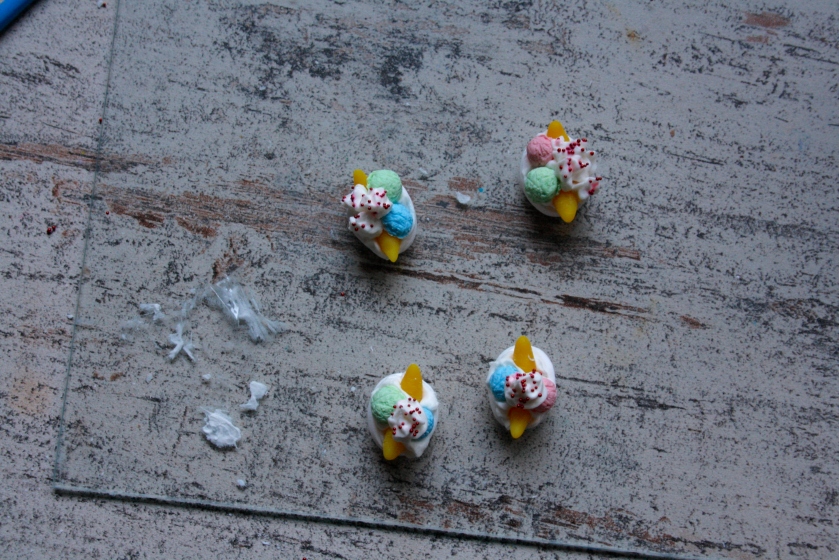
FINISHED!  You can leave it like this  and use it for miniature doll houses

f.e. or you can glue a ring on the bottom when its all dried out.

_MG_8167

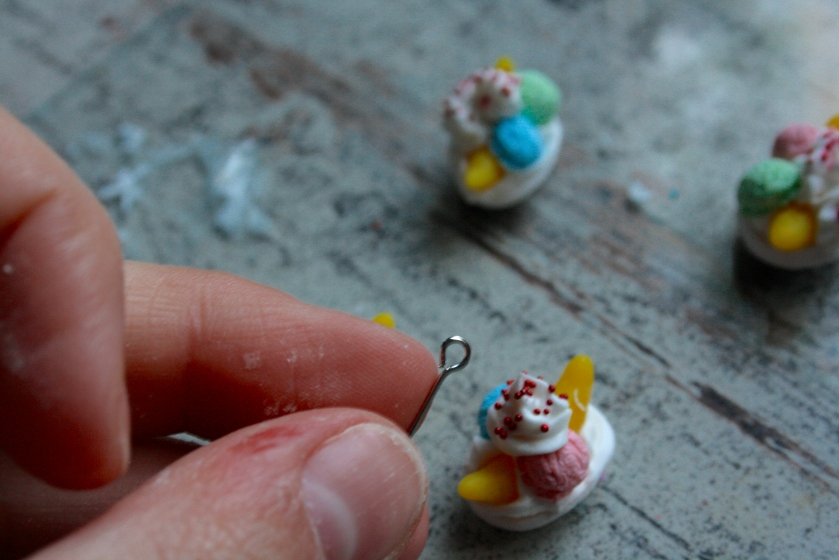
I choose to put a head-pin into it to make those Banana-Splits into necklaces.

_MG_8169

All done !

If you enjoyed this please let me know!

If you’re interested in buying those, I have listed them on my etsy !

∼ Lola Who